Mini Assignments
The Art of Seeing
Date: 10.15.18
Location: Minneapolis, MN
Mini Assignment #5
All images shot at 50mm (f1.8 1/100s, ISO 1600)
I decided to shoot in the Northwind Lofts building - home to the Minneapolis Photo Center. I picked a spot where I was between the original wooden part of the building and the new concrete stairwell. I thought each area would make for some good shots - as well as combining the two scenes that would hopefully clash interestingly.


Reflection
This was rather difficult after the first four shots. I had to really think about what I was going to shoot next that would be different. There were a lot of parallel lines within the space - such as floorboards, railings, bricks - all flowing the same direction. Some shots I decided to to with the grain, others against, and in my last few I went dutch. Playing with and against symmetry, as well as diagonally gave me the variety I was looking for within my scene.
Lens Characteristics
Date: 10.09.18
Location: Minneapolis, MN
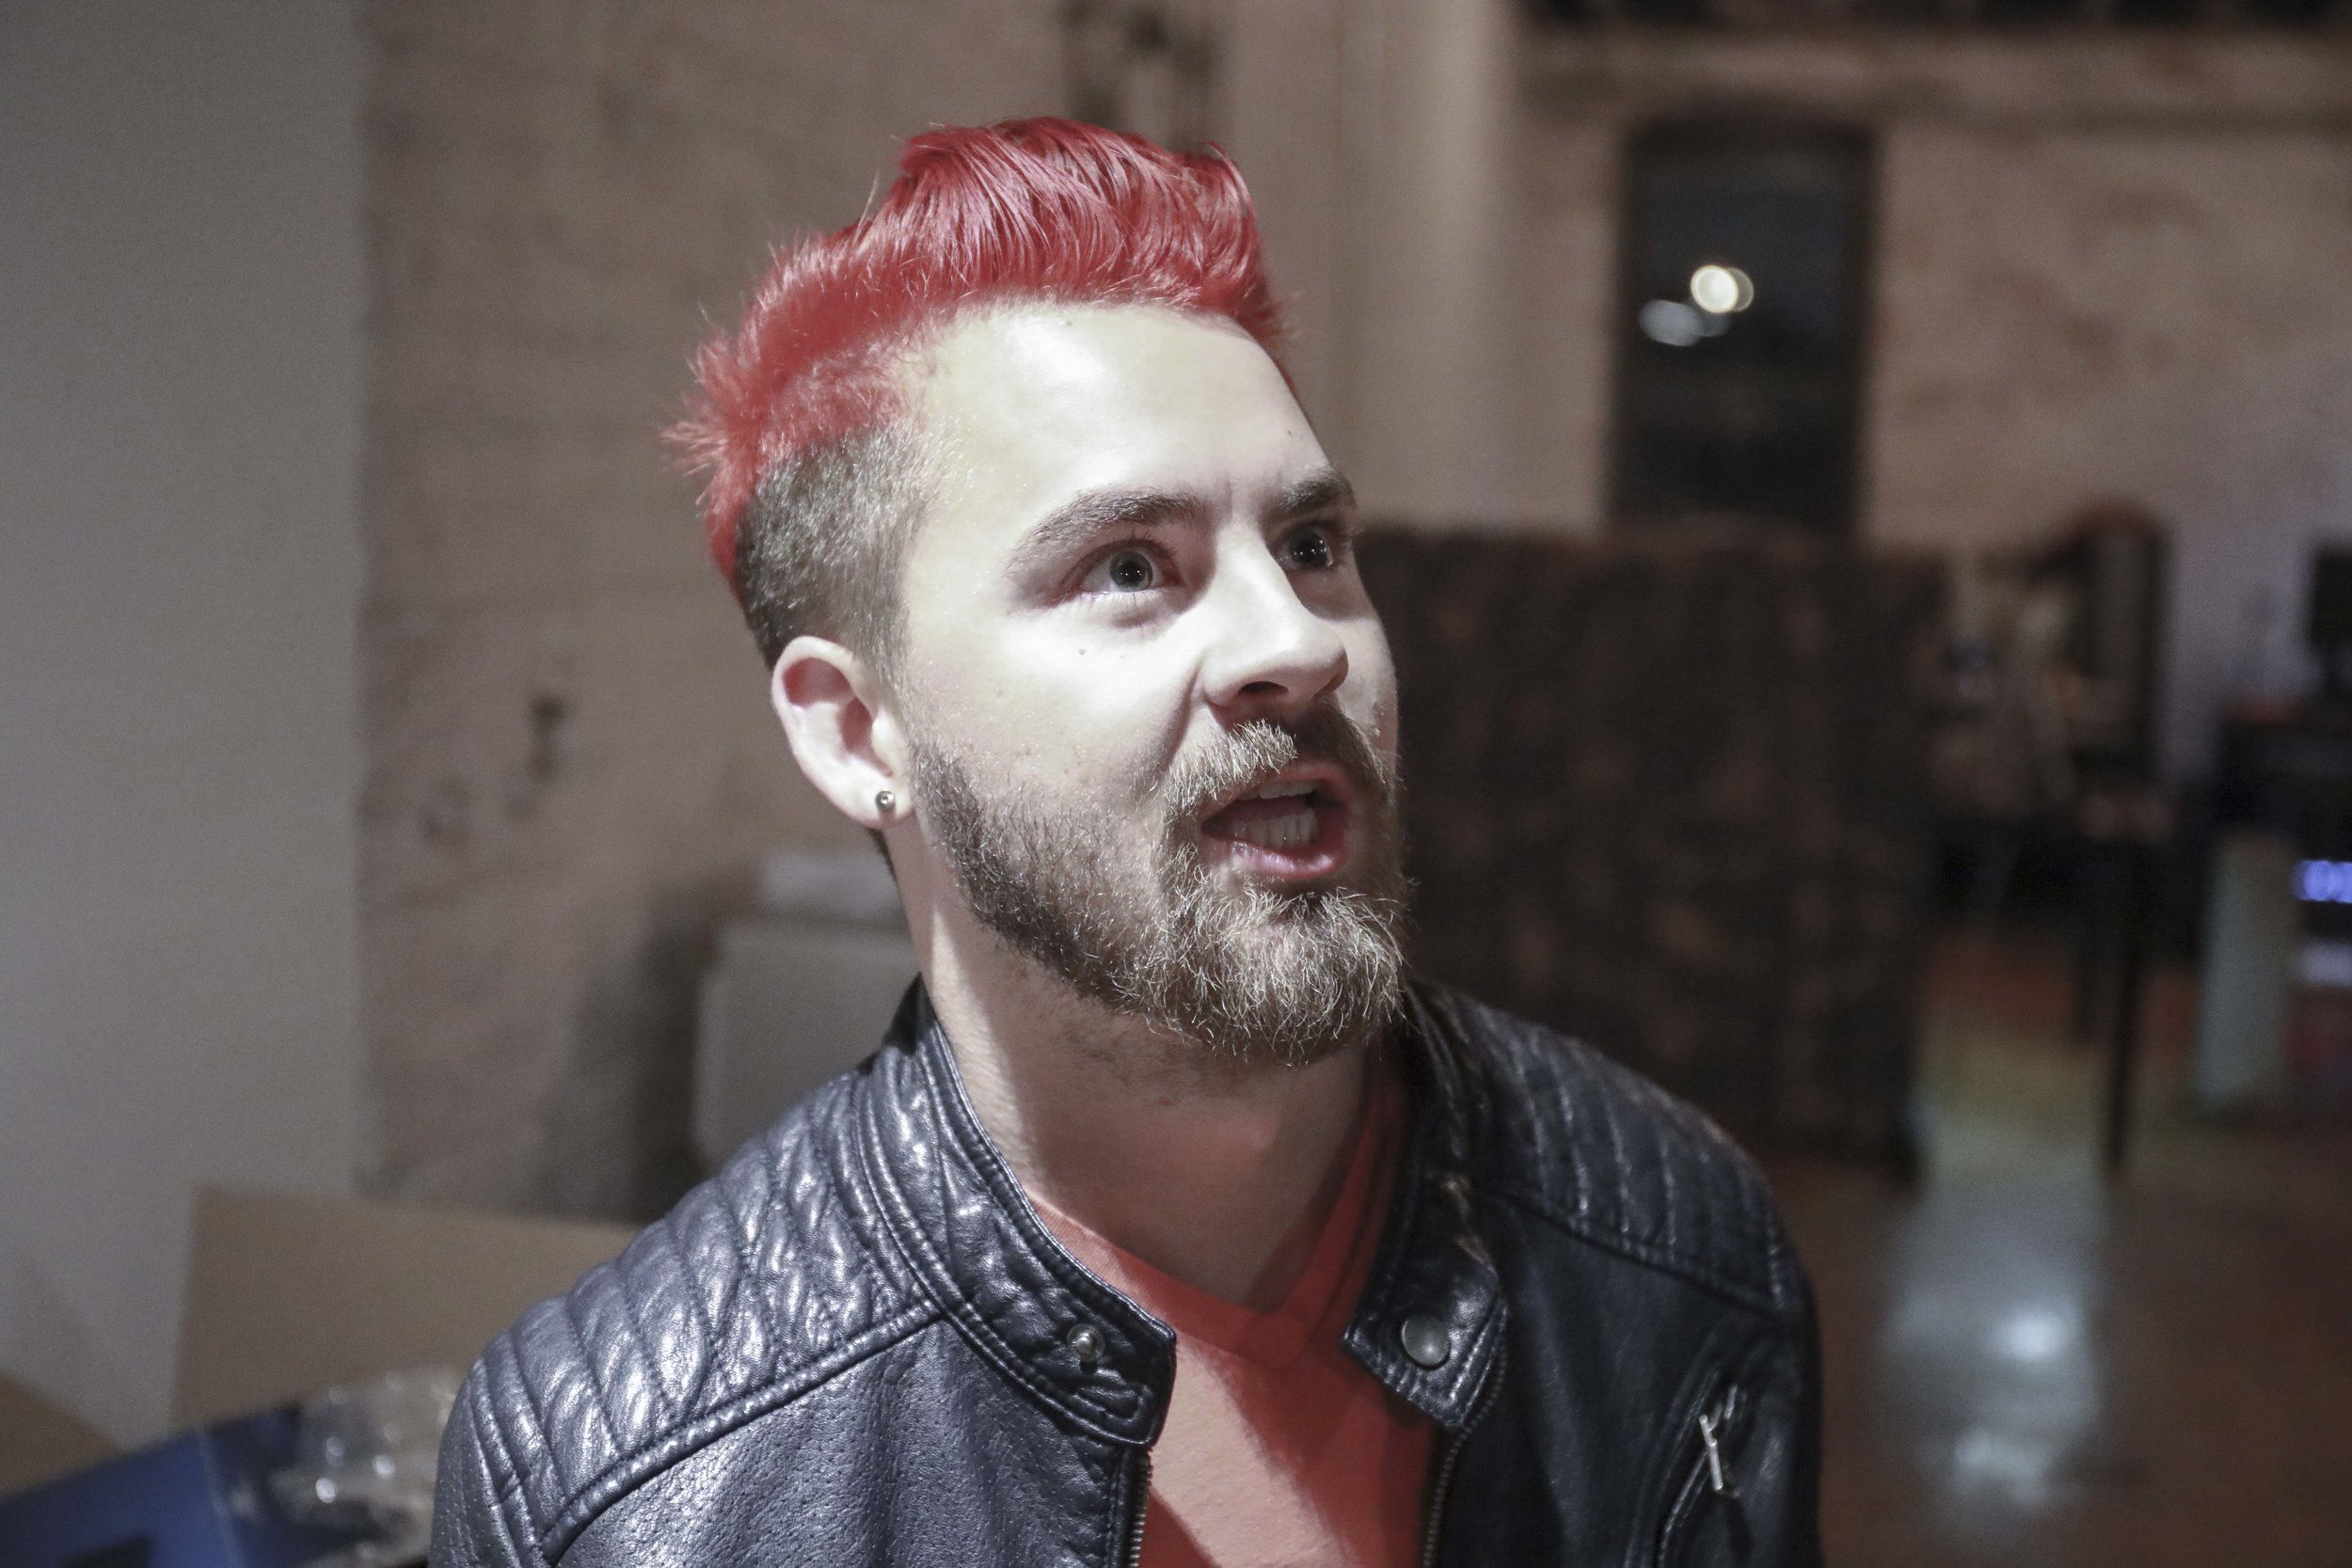
Talent: Spencer Olson
Mini Assignment #4
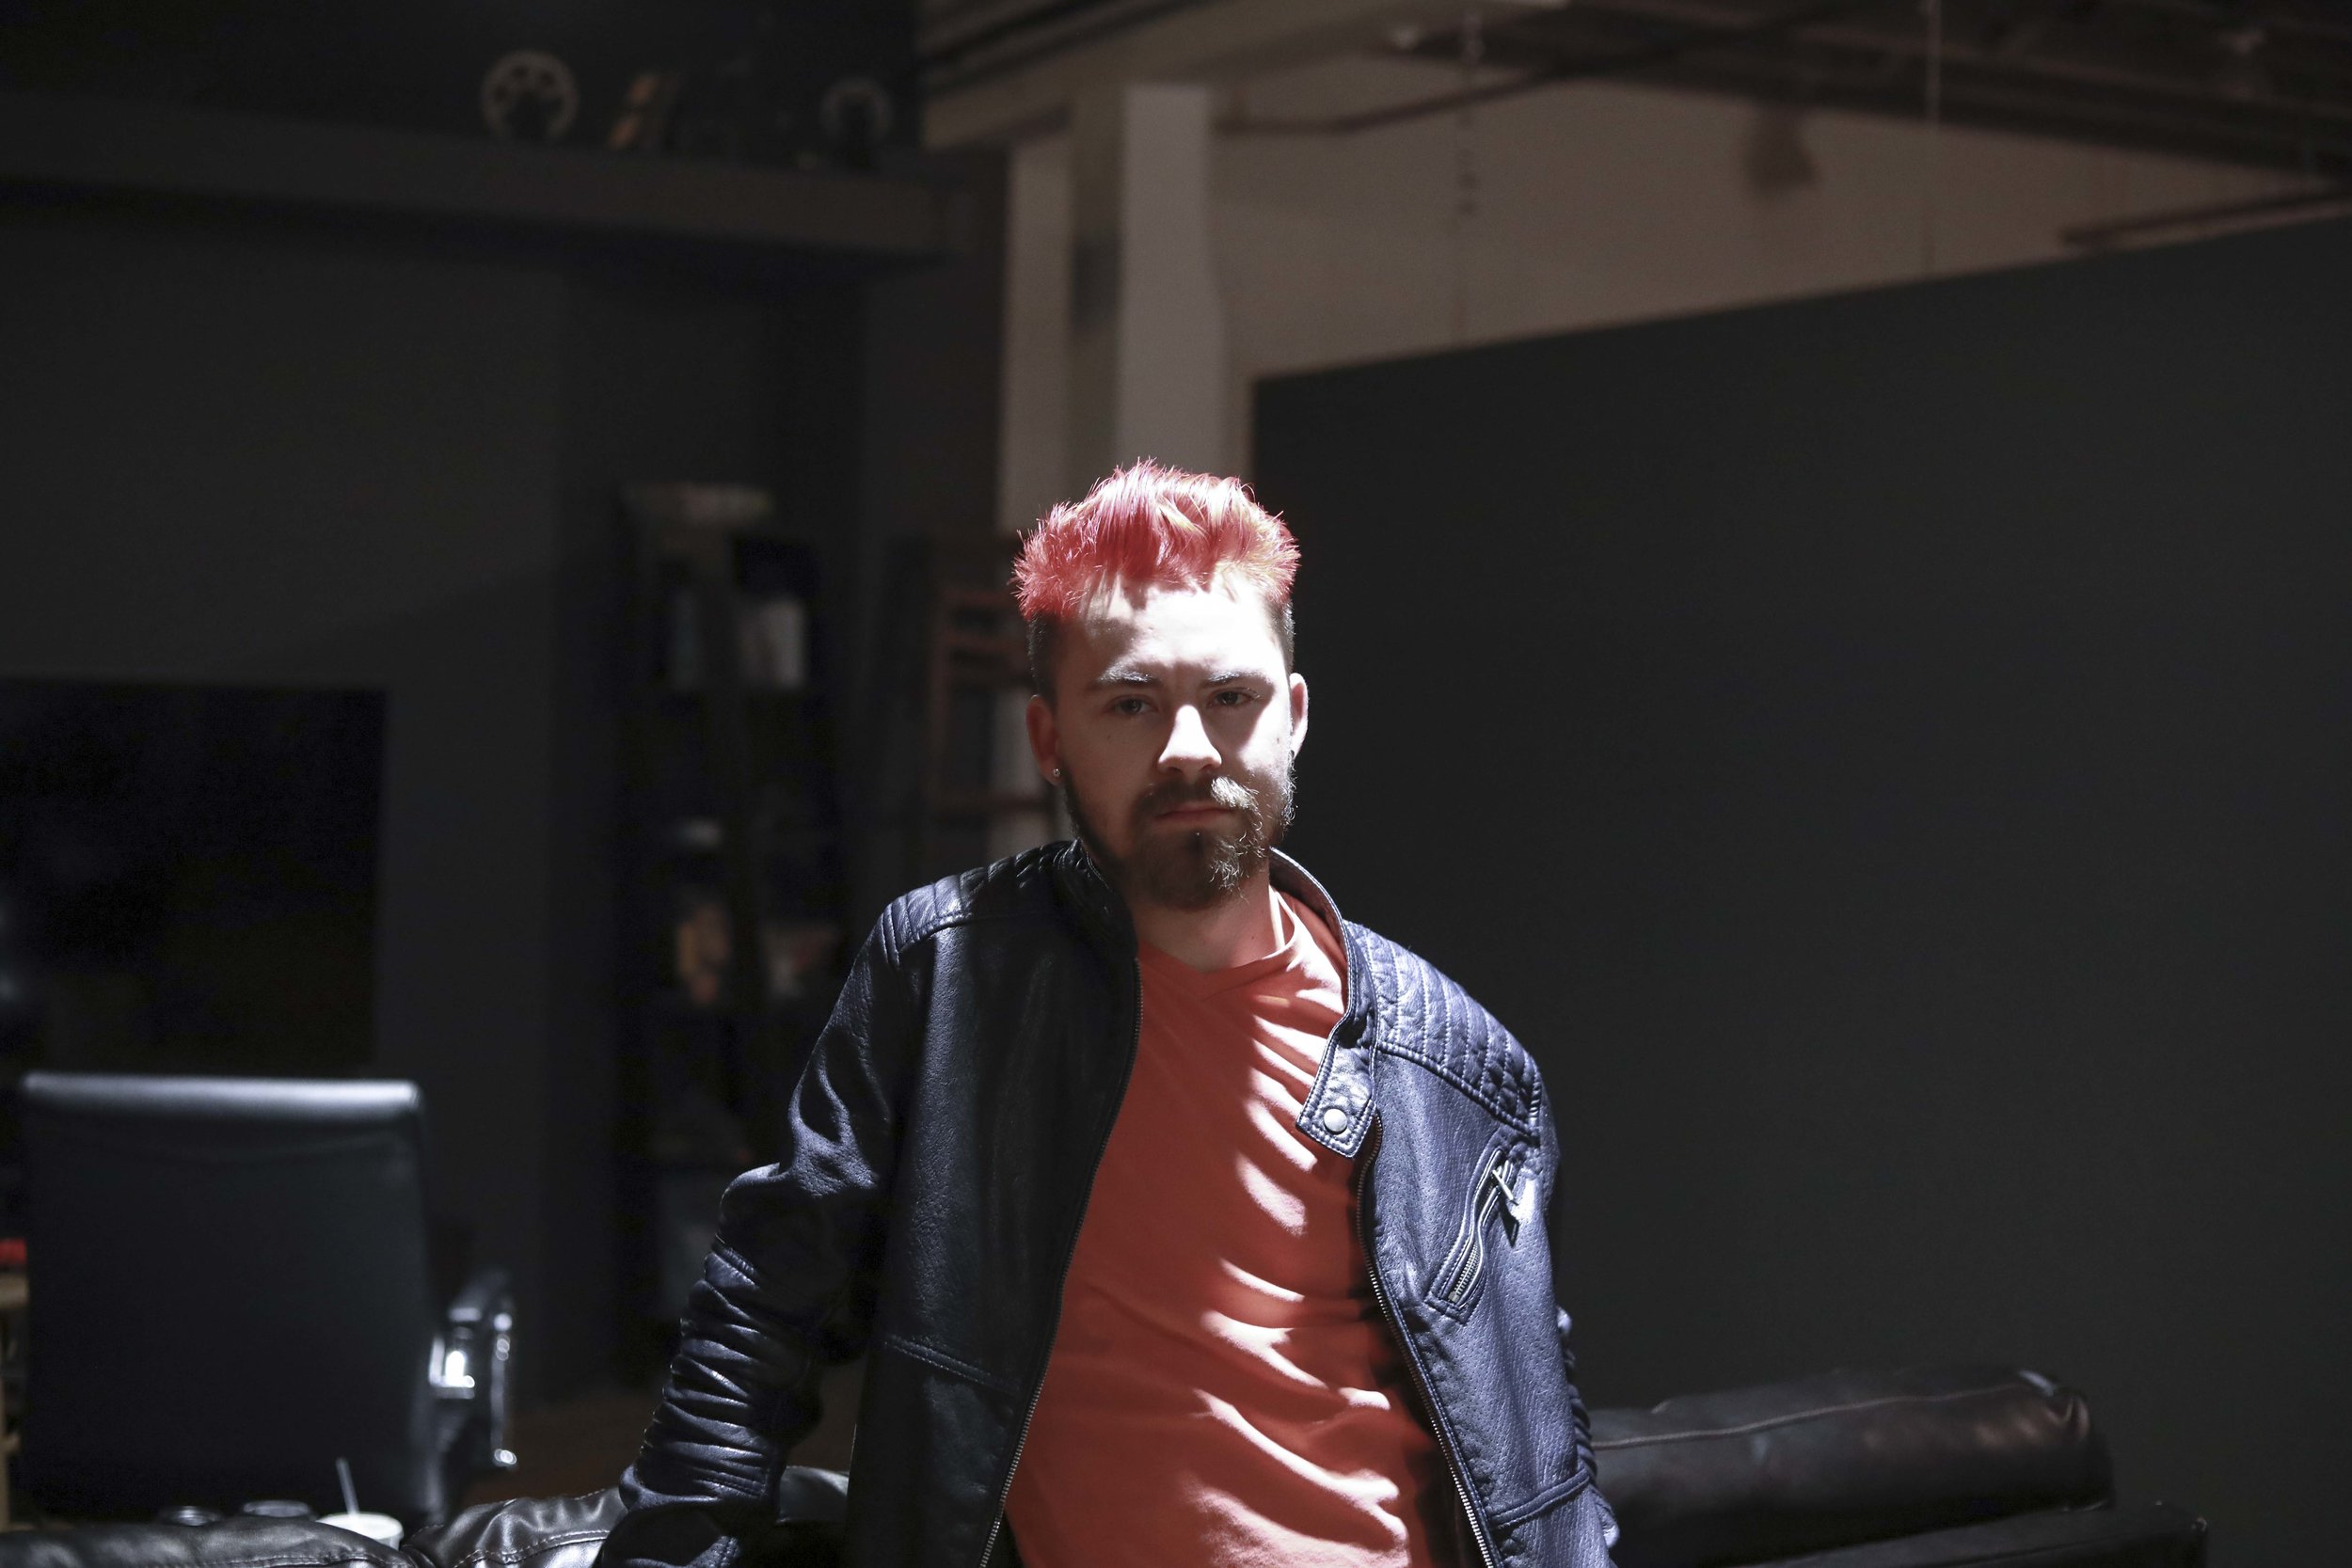
From left to right - 24mm (f5.6 1/60s ISO 6400) , 50mm (f5.6 1/60s ISO 6400), 70mm (f5.6 1/60s ISO 6400), 135mm (f5.6 1/60s ISO 6400)


Reflection
The wider the lens the more exaggerated the depth in the image is and the less out of focus the background. The more telephoto the lens the more compressed the image becomes - the background becomes more blurred as well.
The emotional value of the image changes depending on the focal length. The wider the lens the more bizarre and “nightmarish” the image becomes. When the image is in the mid “normal” focal length range the image becomes more naturalistic - something we’d expect to see with our own eyes. The more telephoto the lens the more surreal and “dreamy” the image becomes - however, I’ve found if you go too telephoto (200mm and beyond) the image becomes unnaturally flat and extreme looking. A great example would be the sunset shot on the film THX-1138 in which they used a telephoto lens that was over 1,000mm I believe.
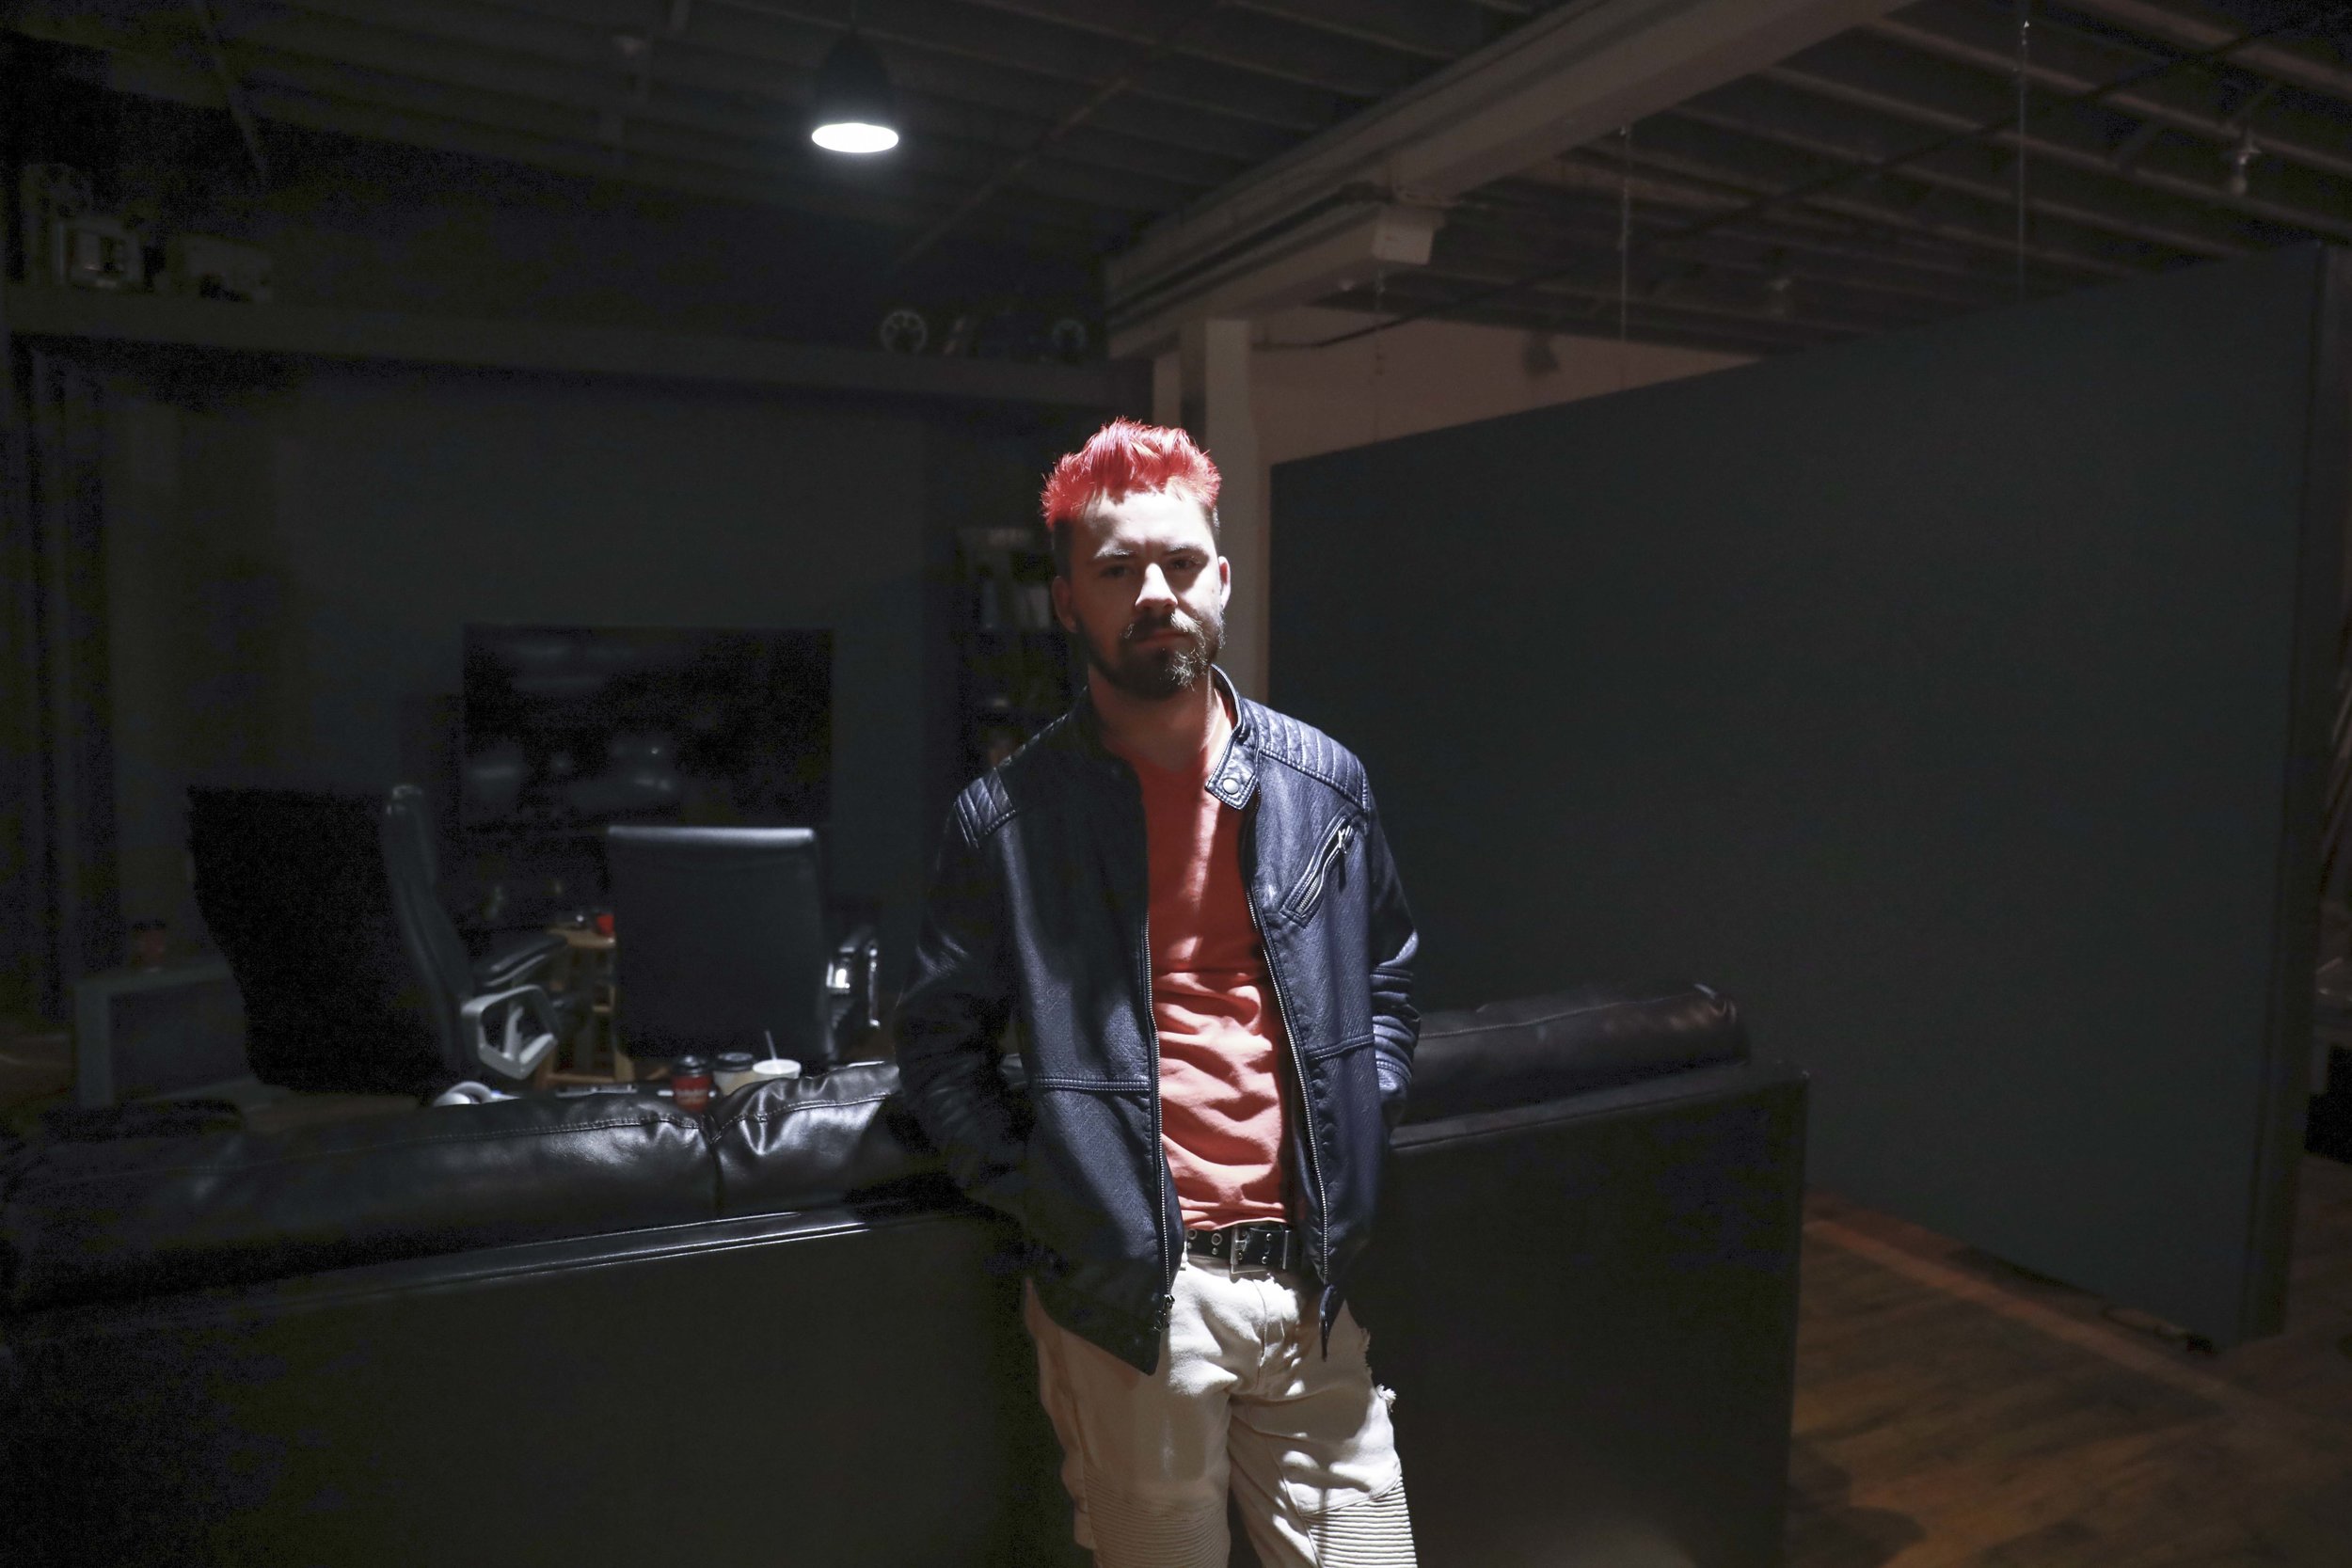
Part I - Foot Zoom
All Shots - 50mm (f5.6 1/60s ISO 6400)


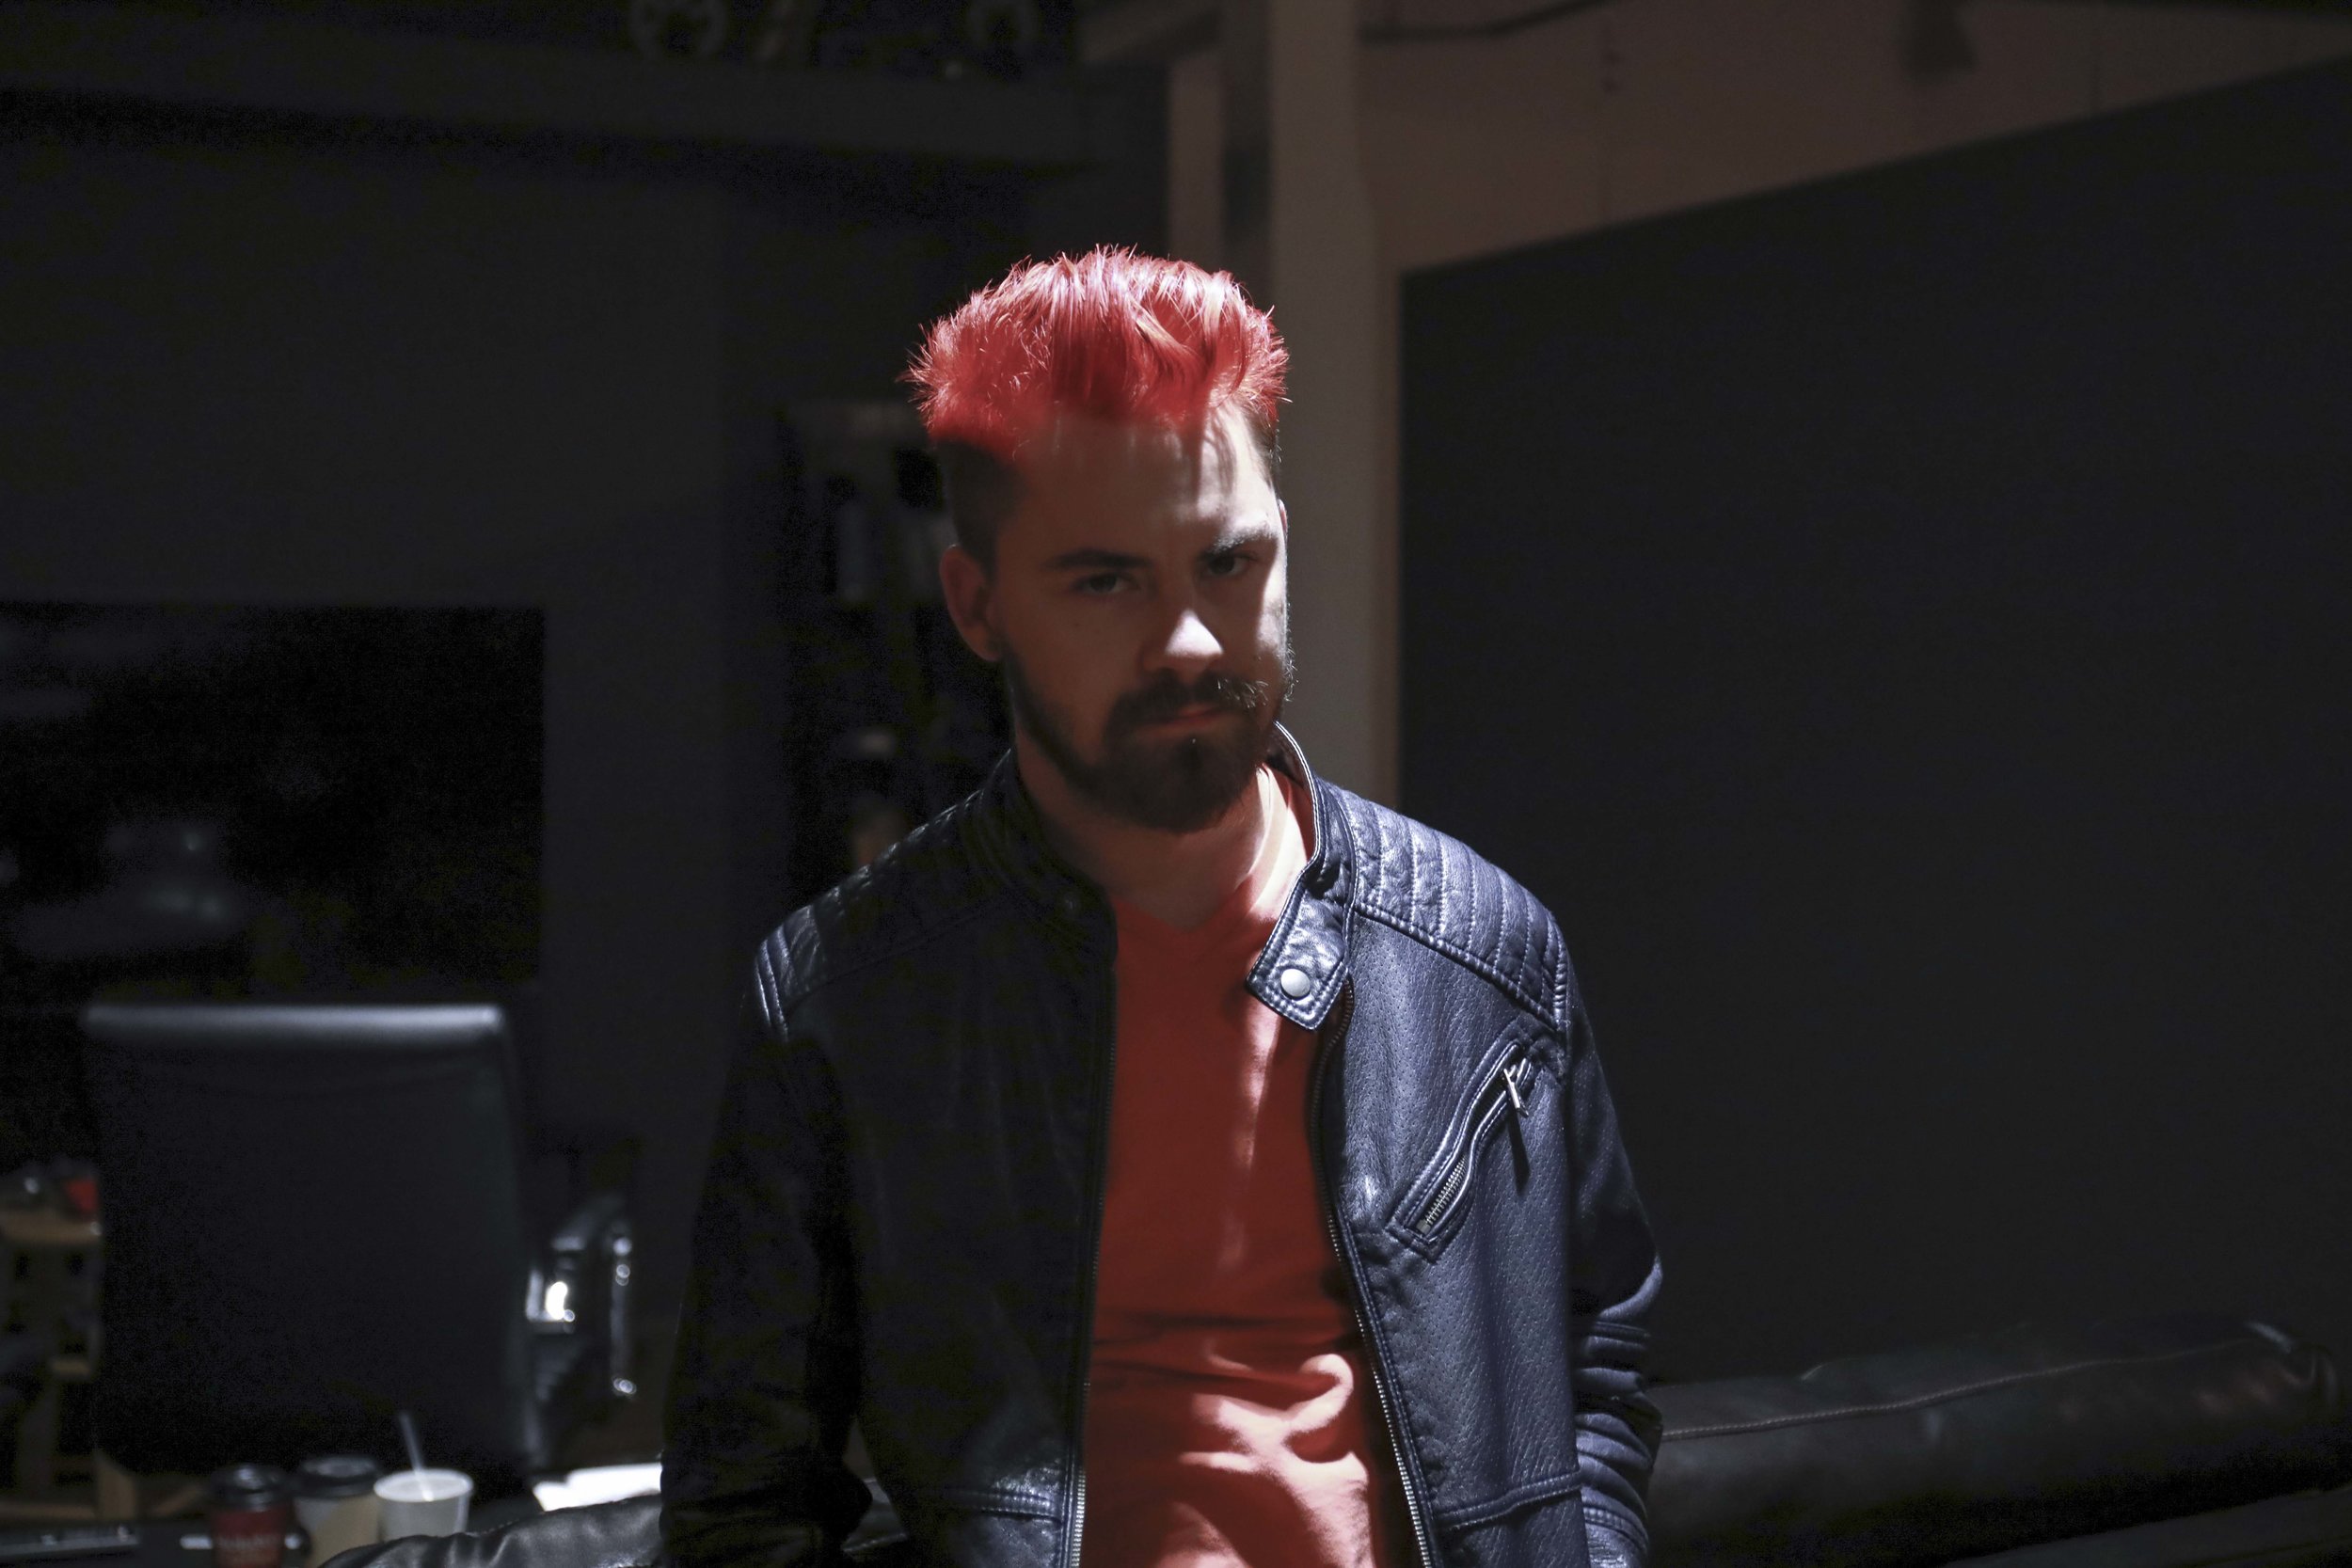
Part II - Zoom Lens
From left to right - 50mm (f5.6 1/60s ISO 6400) , 70mm (f5.6 1/60s ISO 6400), 135mm (f5.6 1/60s ISO 6400)

Reflection
It’s interesting to compare Part I and Part II. When using different focal lengths in Part II you can see a clear compression in the image when the focal length extends to 135mm. Take notice of the white dots behind the talent’s head. The Part II photograph dots (135mm) are much larger than the fixed (50mm) focal length in Part I even though the framing is identical.
Shutter Speed
Date: 10.01.18
Location: Maple Grove, MN
Mini Assignment #3
Set 1 - Shutter Speed Results
From top left to bottom right - f5 (1/30s ISO 3200) , f3.5 (1/60s ISO 3200), f2.5 (125s ISO 3200), f1.8 (1/250s ISO 6400) , f1.8 (1/500s ISO 12800), f1.8 (1000s ISO 25600)


Reflection
The first image where I begin to see stop action is on the 4th picture (bottom left). You can start to see some definition and separation in the way the water is falling from the fountain. The next two photos really begin to demonstrate true frozen action - especially the 6th picture (bottom right). The picture taken at 1/1000s looks rather abstract compared to what our eyes are used to with normal real-time motion blur.
Set 2
Panning
From left to right - f1.8 (1/30s ISO 1600), f1.8 (1/30s ISO 1600)

Reflection
This was challenging exorcise because it took a lot of patience, patience, and luck. I found what worked best for me was to use the focus points in my viewfinder to track onto a single point of my target. For example - I would take my focus point and try to keep it locked on Coopers nose or a car’s headlight. That’s when I started to get good results.
I think this is a great way to capture action and introduce motion blur into your images. Sure, it’s not perfectly sharp or framed exactly the way you want it, but there’s an art in the process of discovery with this method of photography that is beautiful and interesting.
Depth of Field
Date: 09.24.18
Location: Maple Grove, MN
Mini Assignment #2
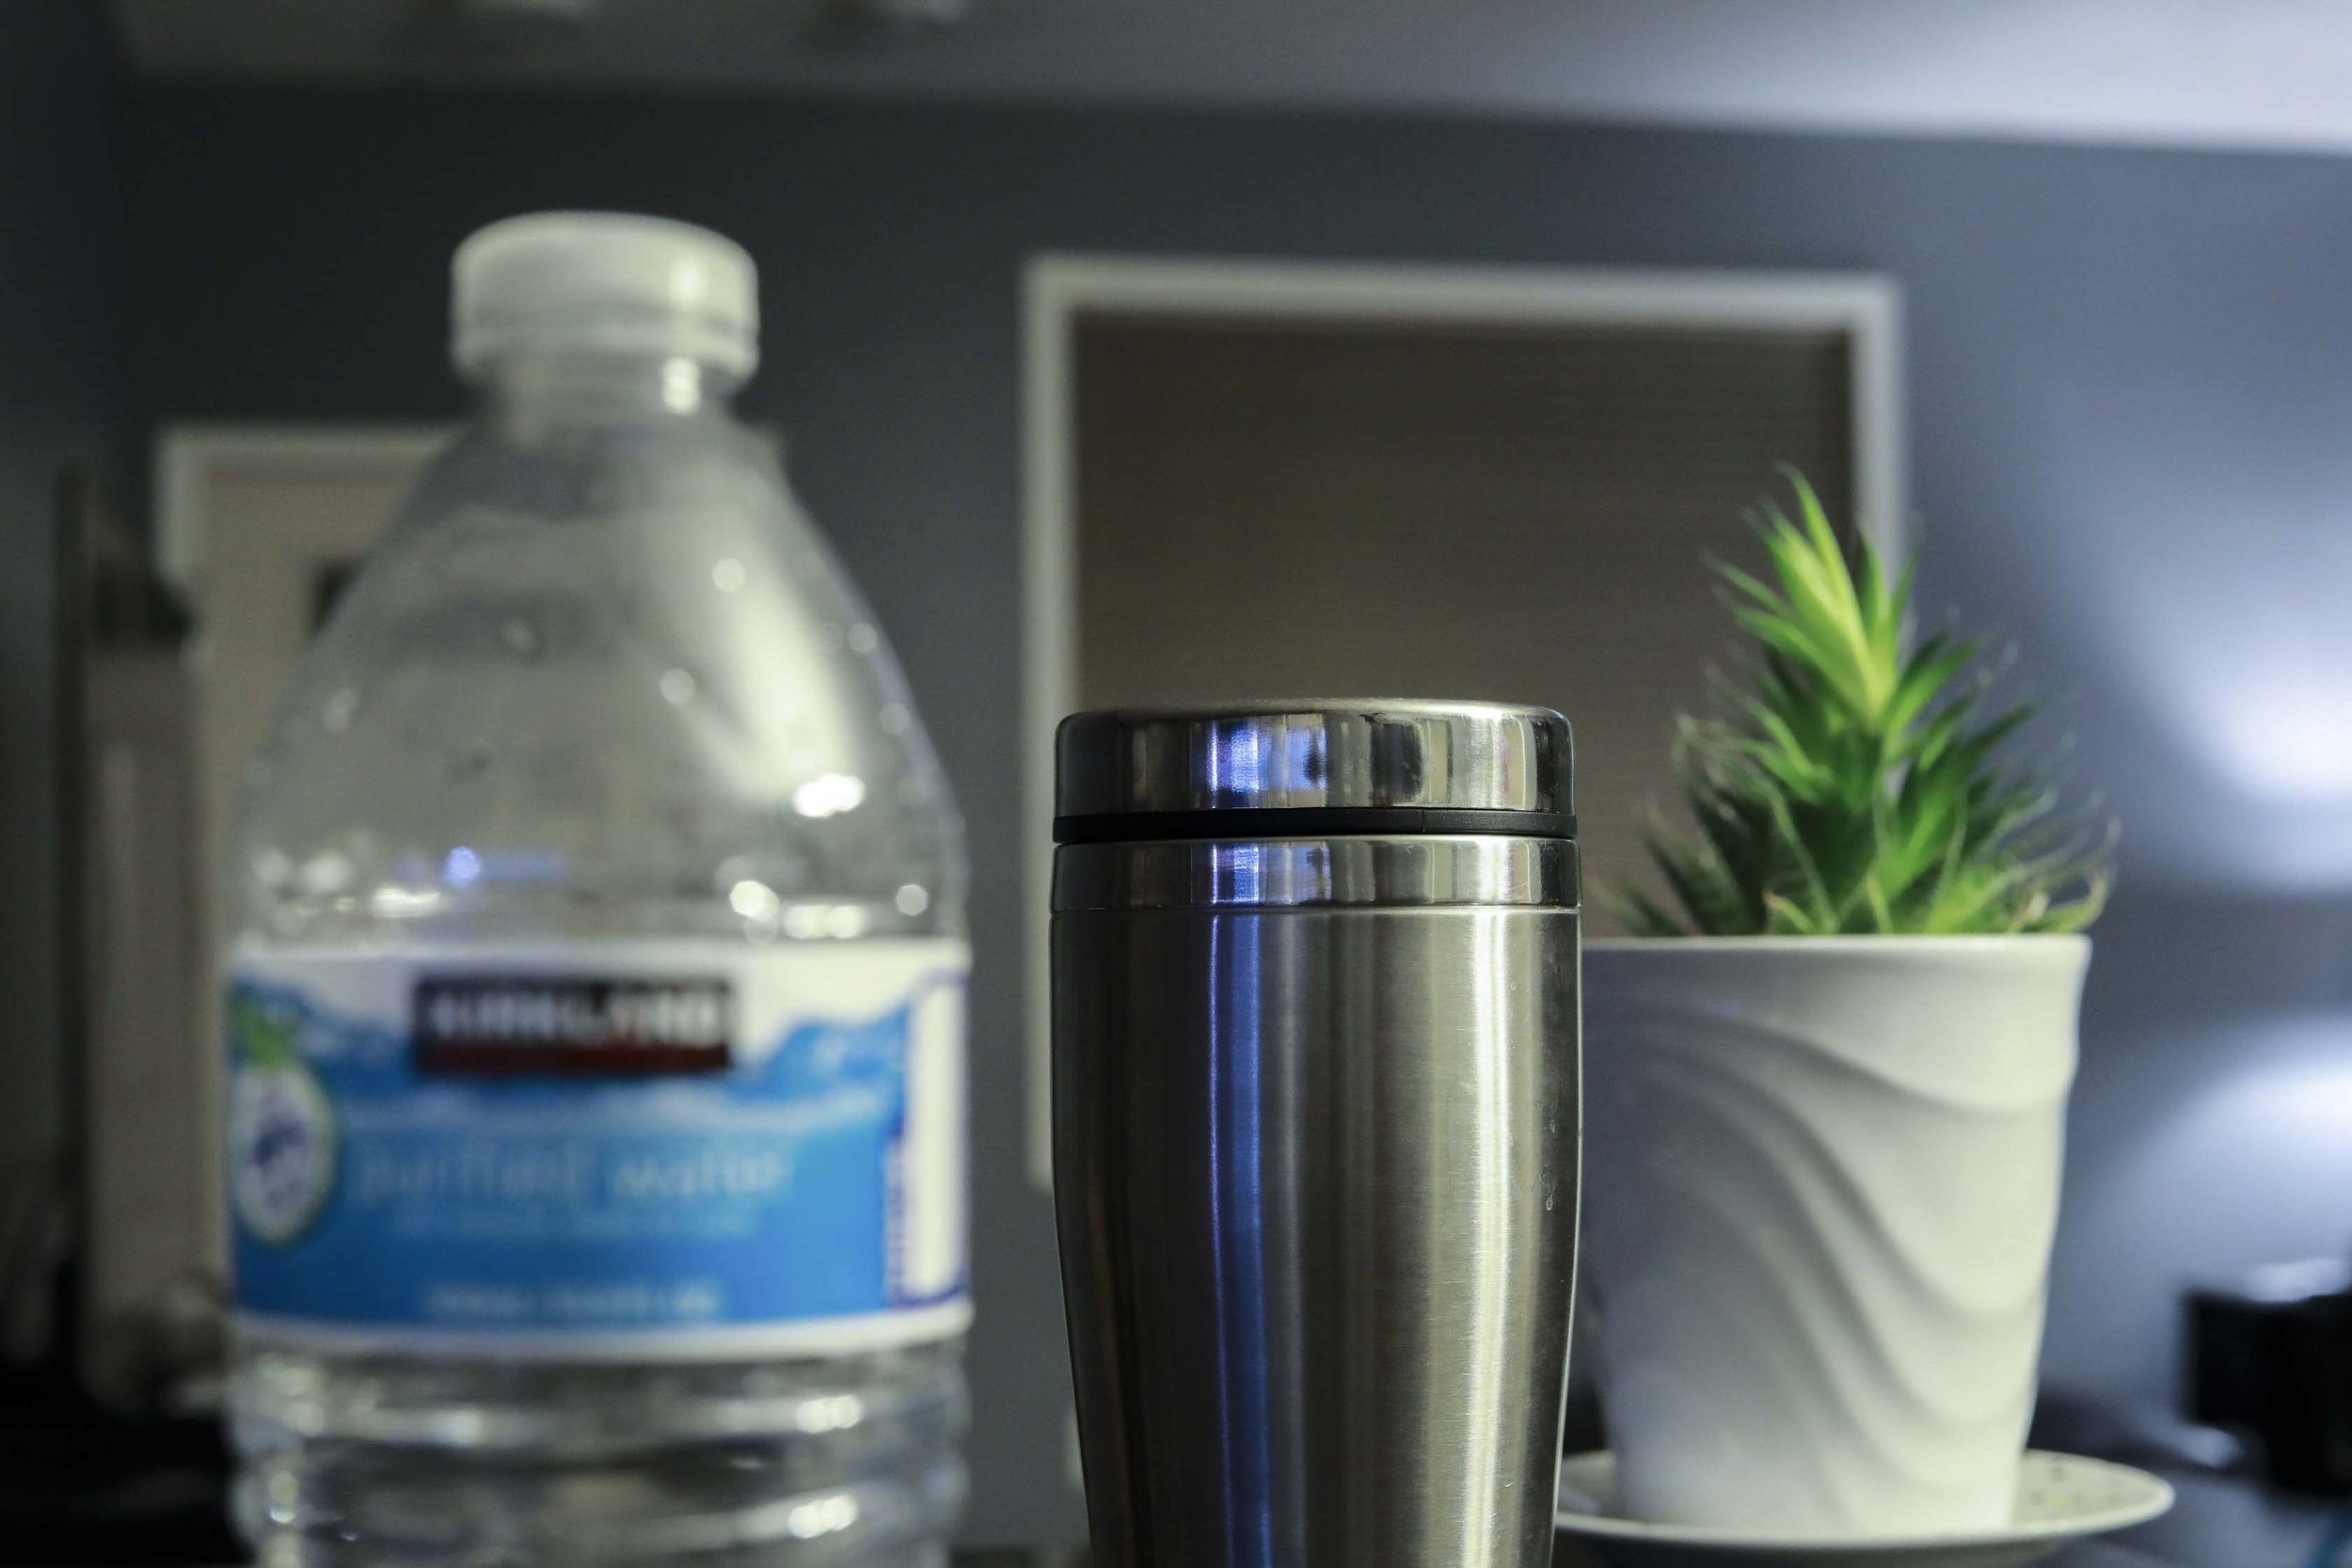
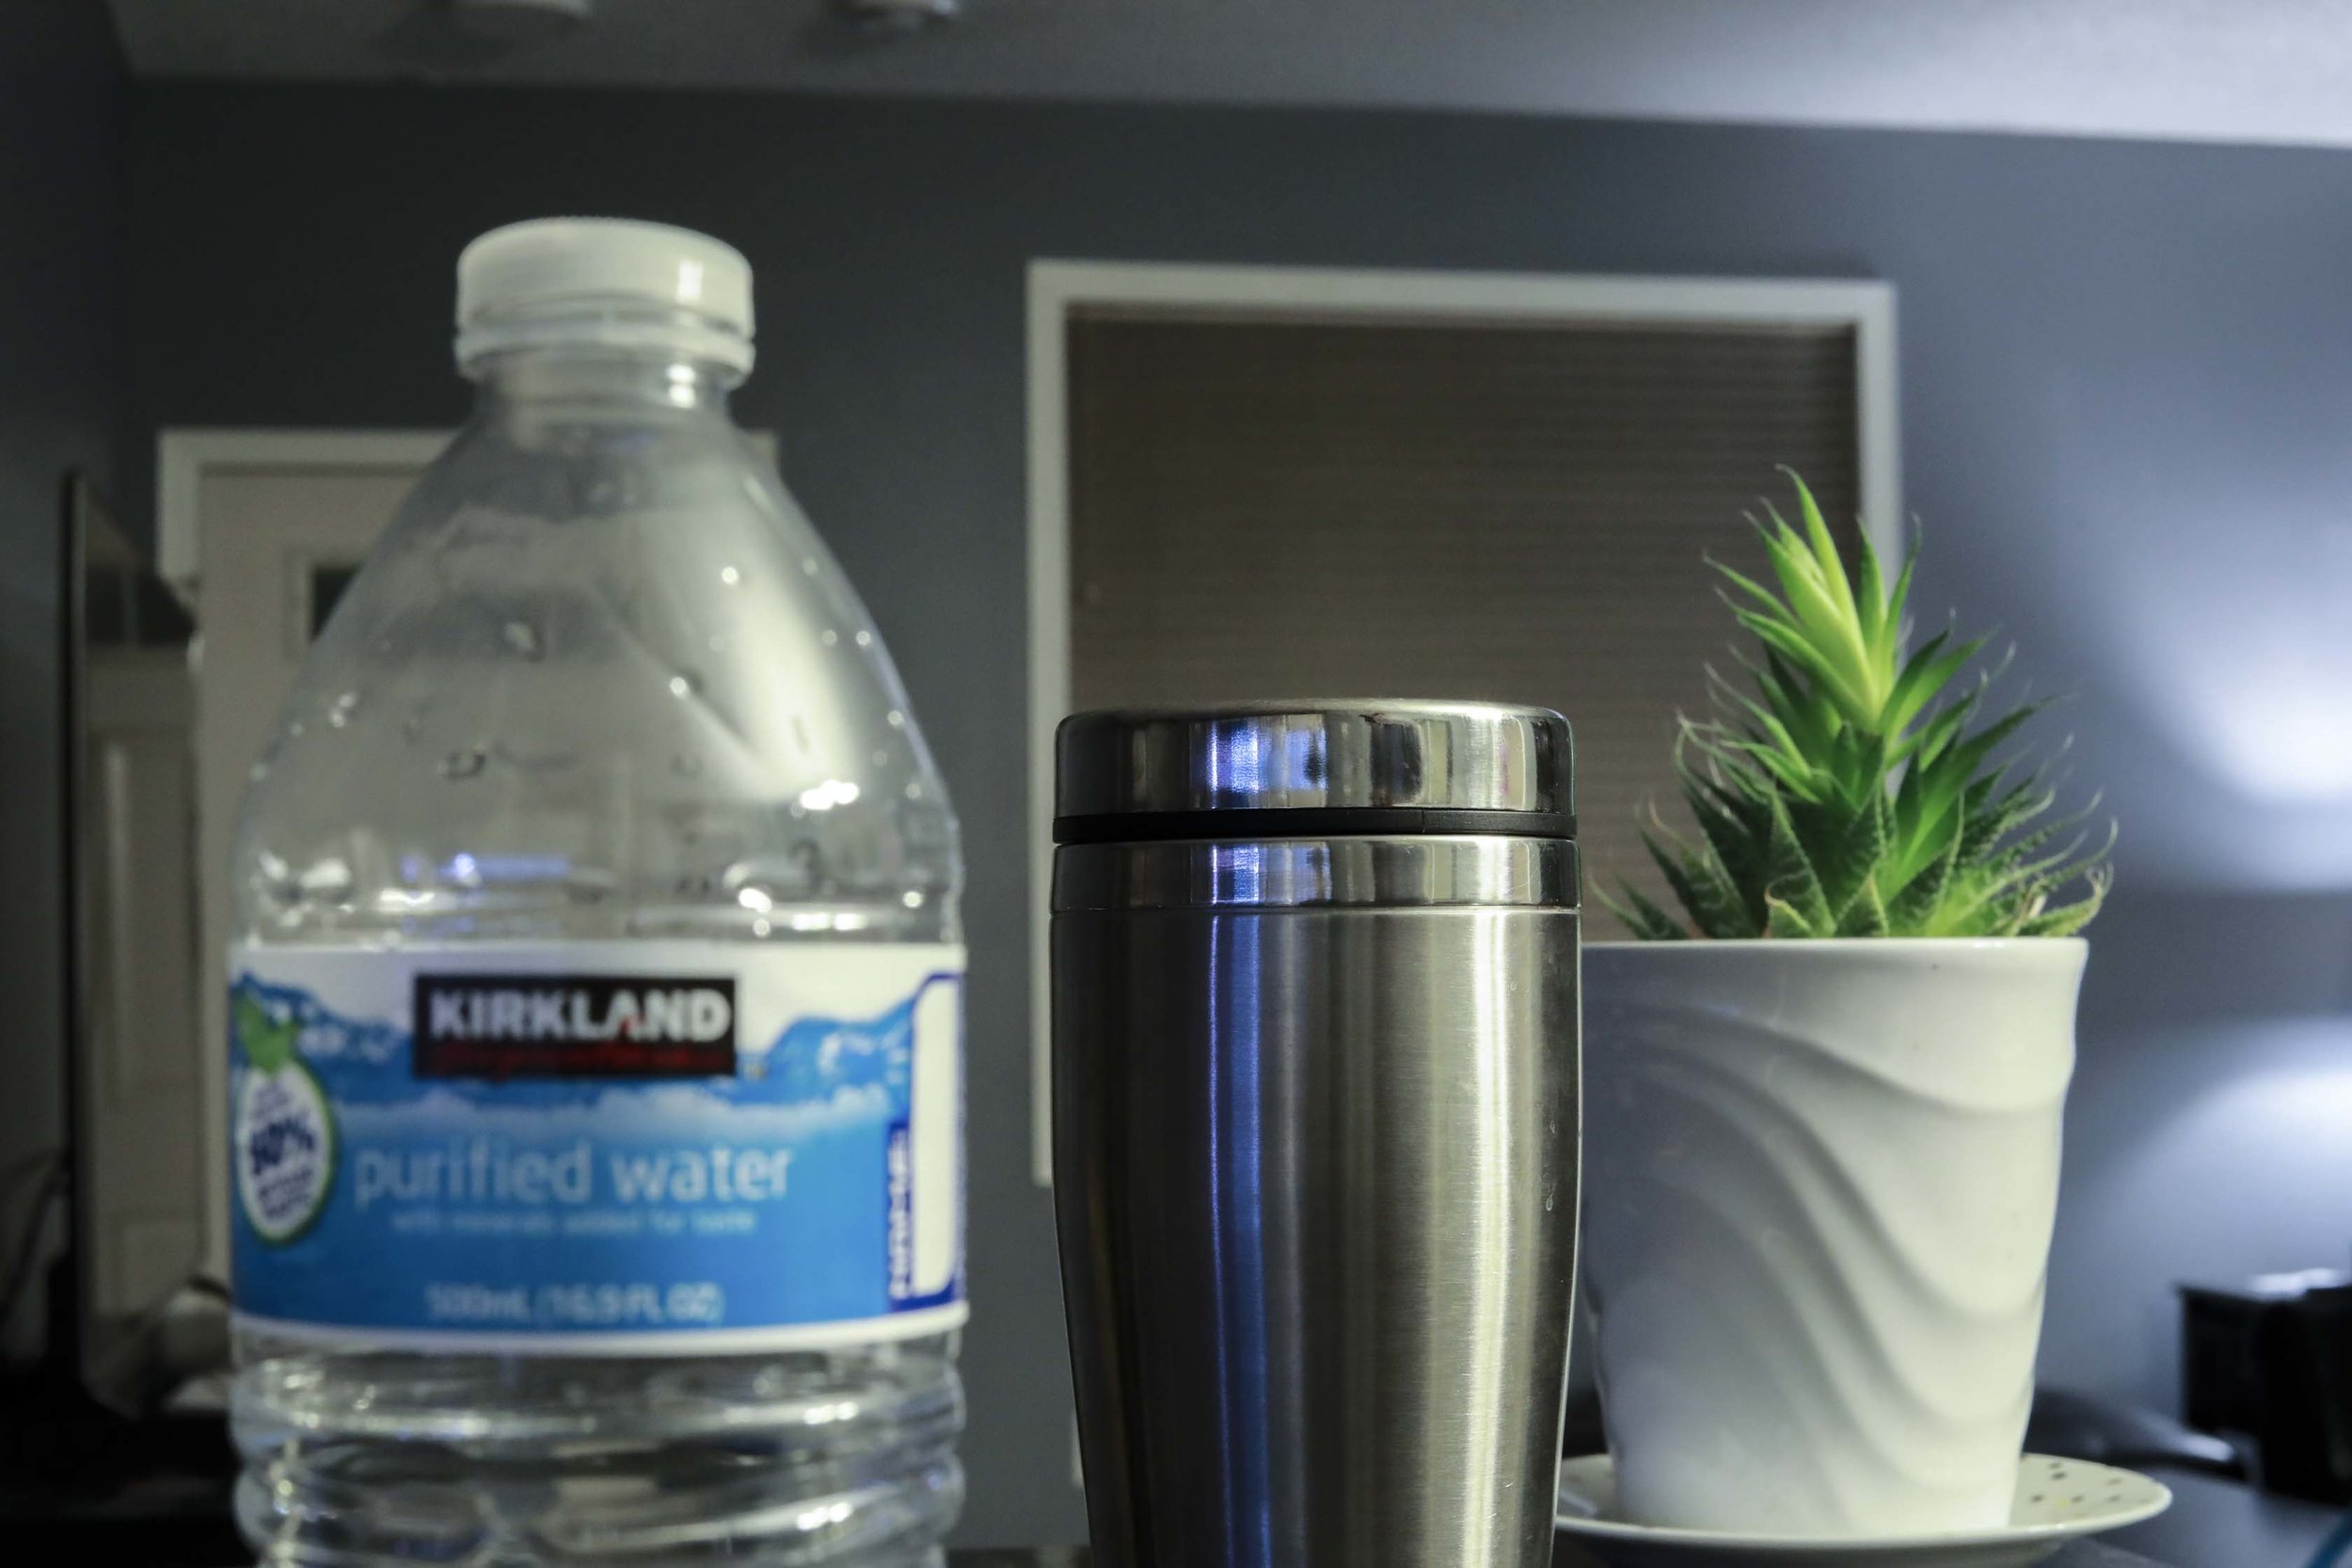
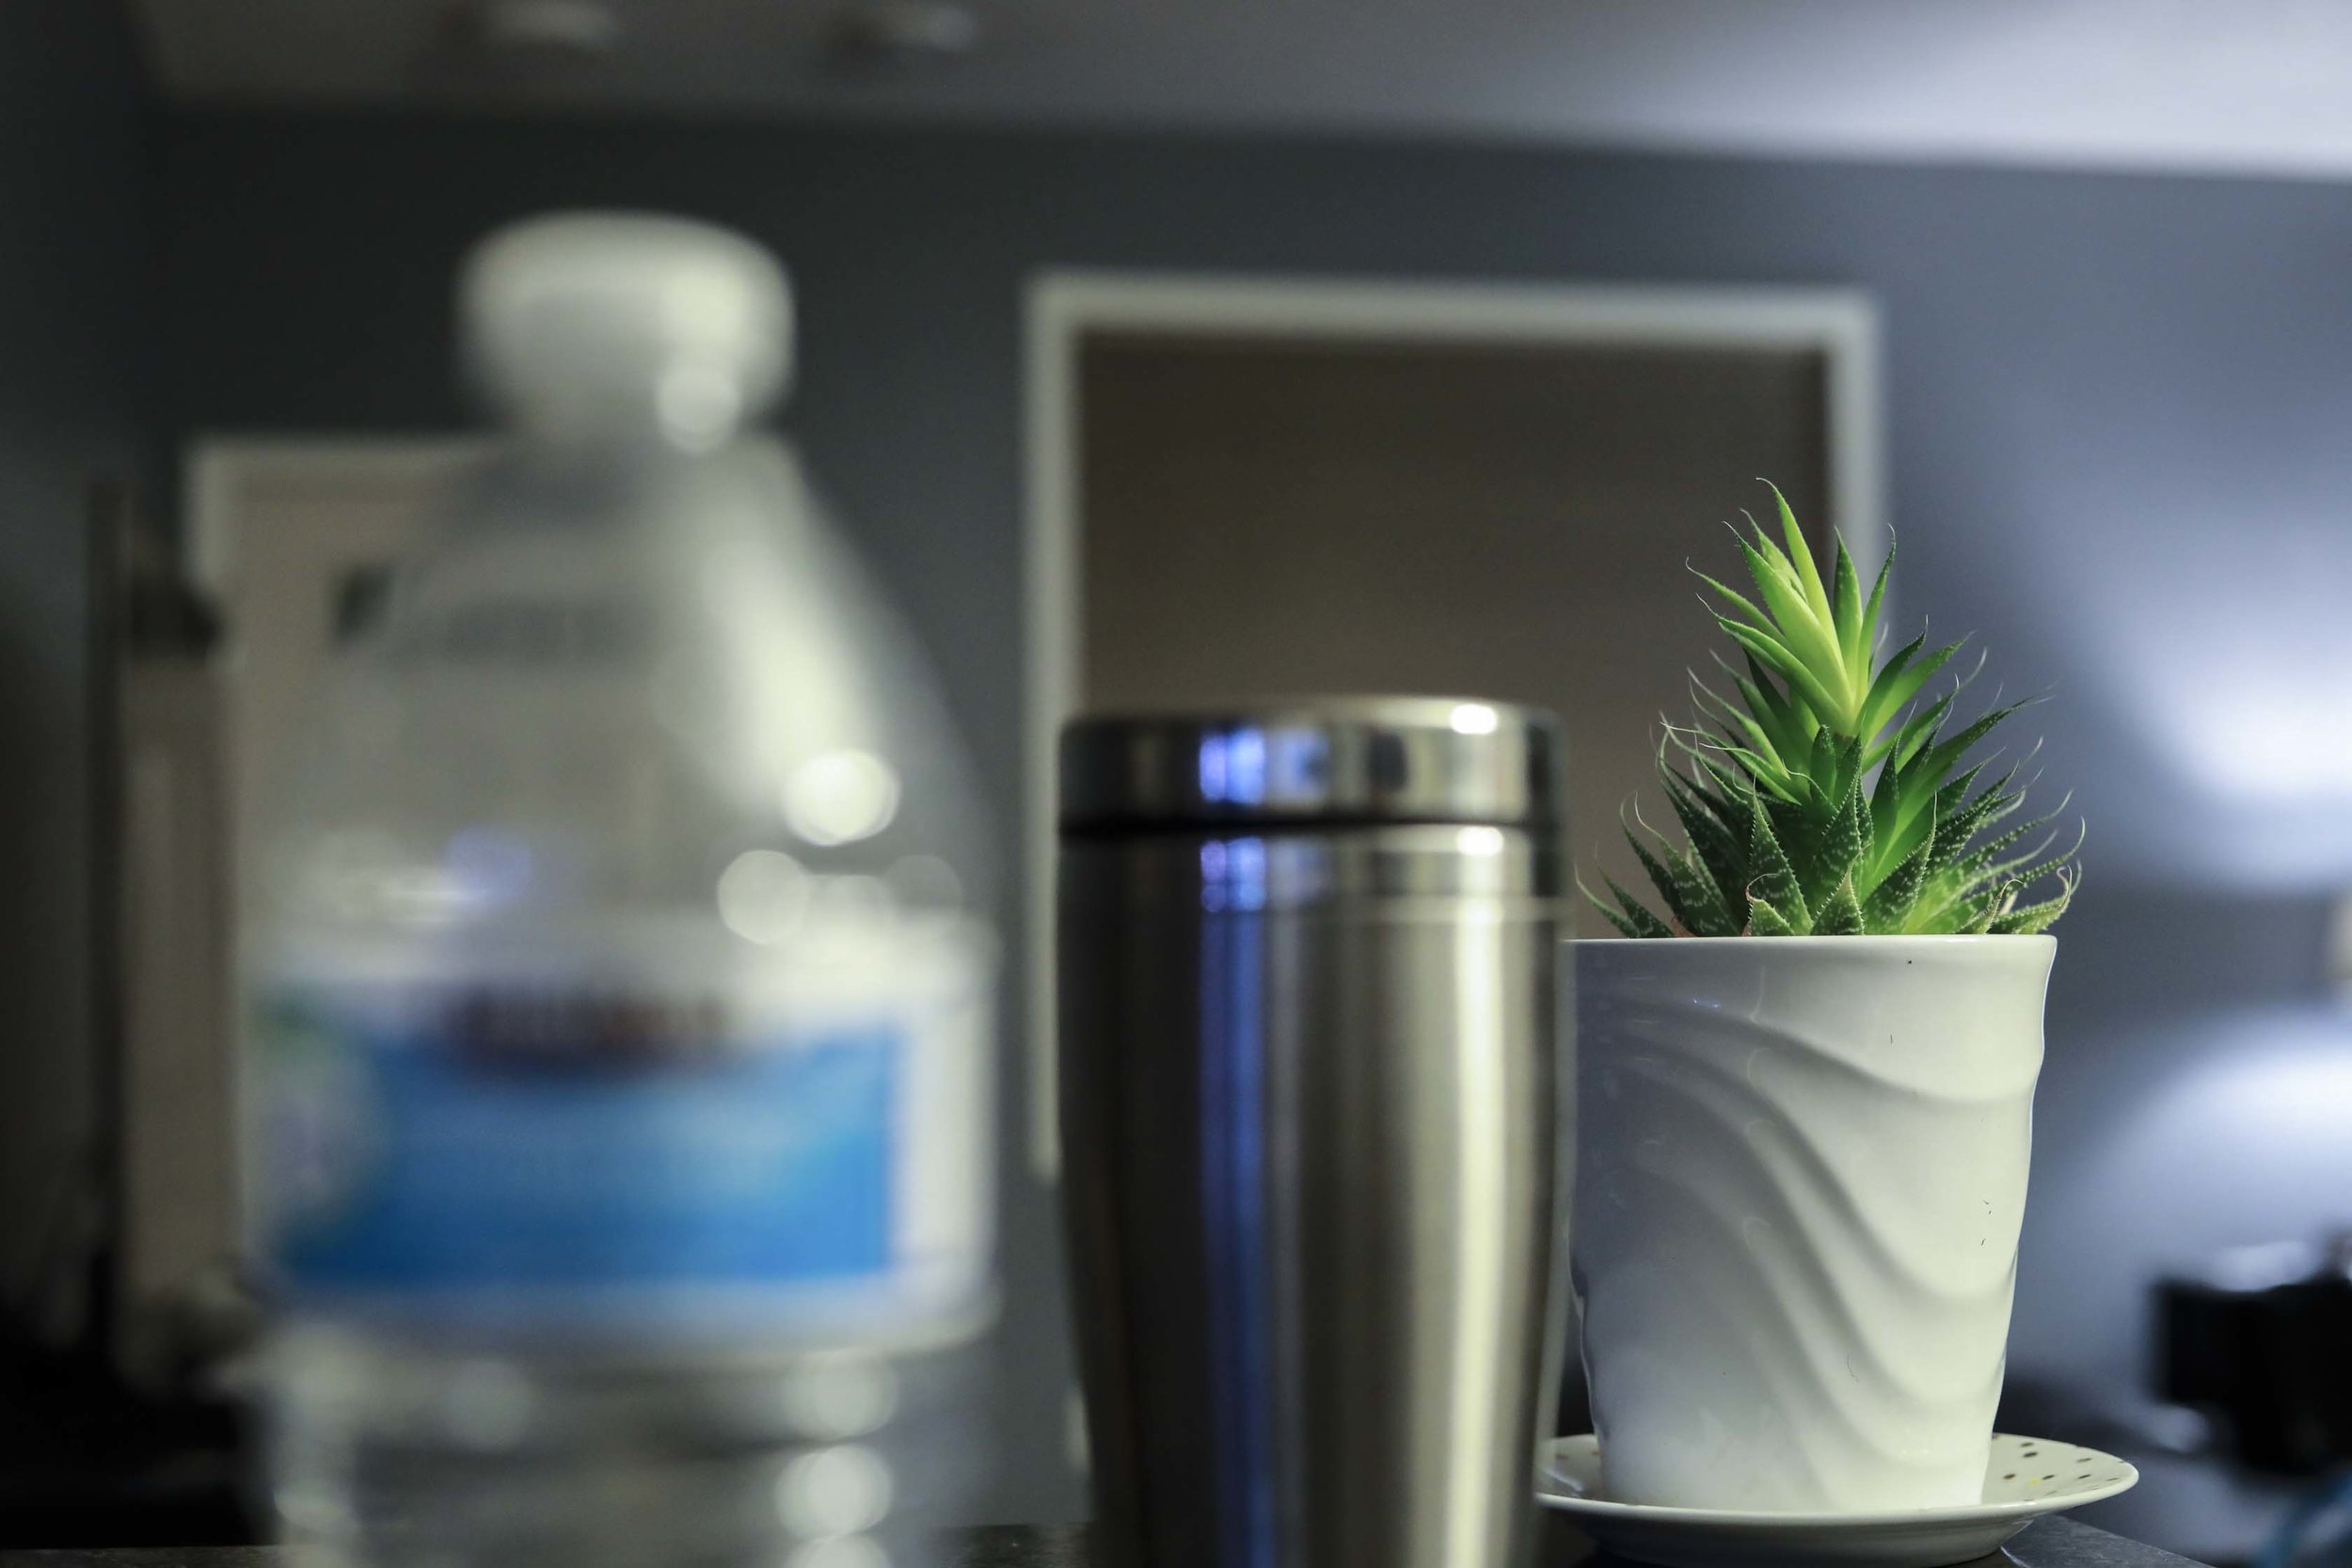
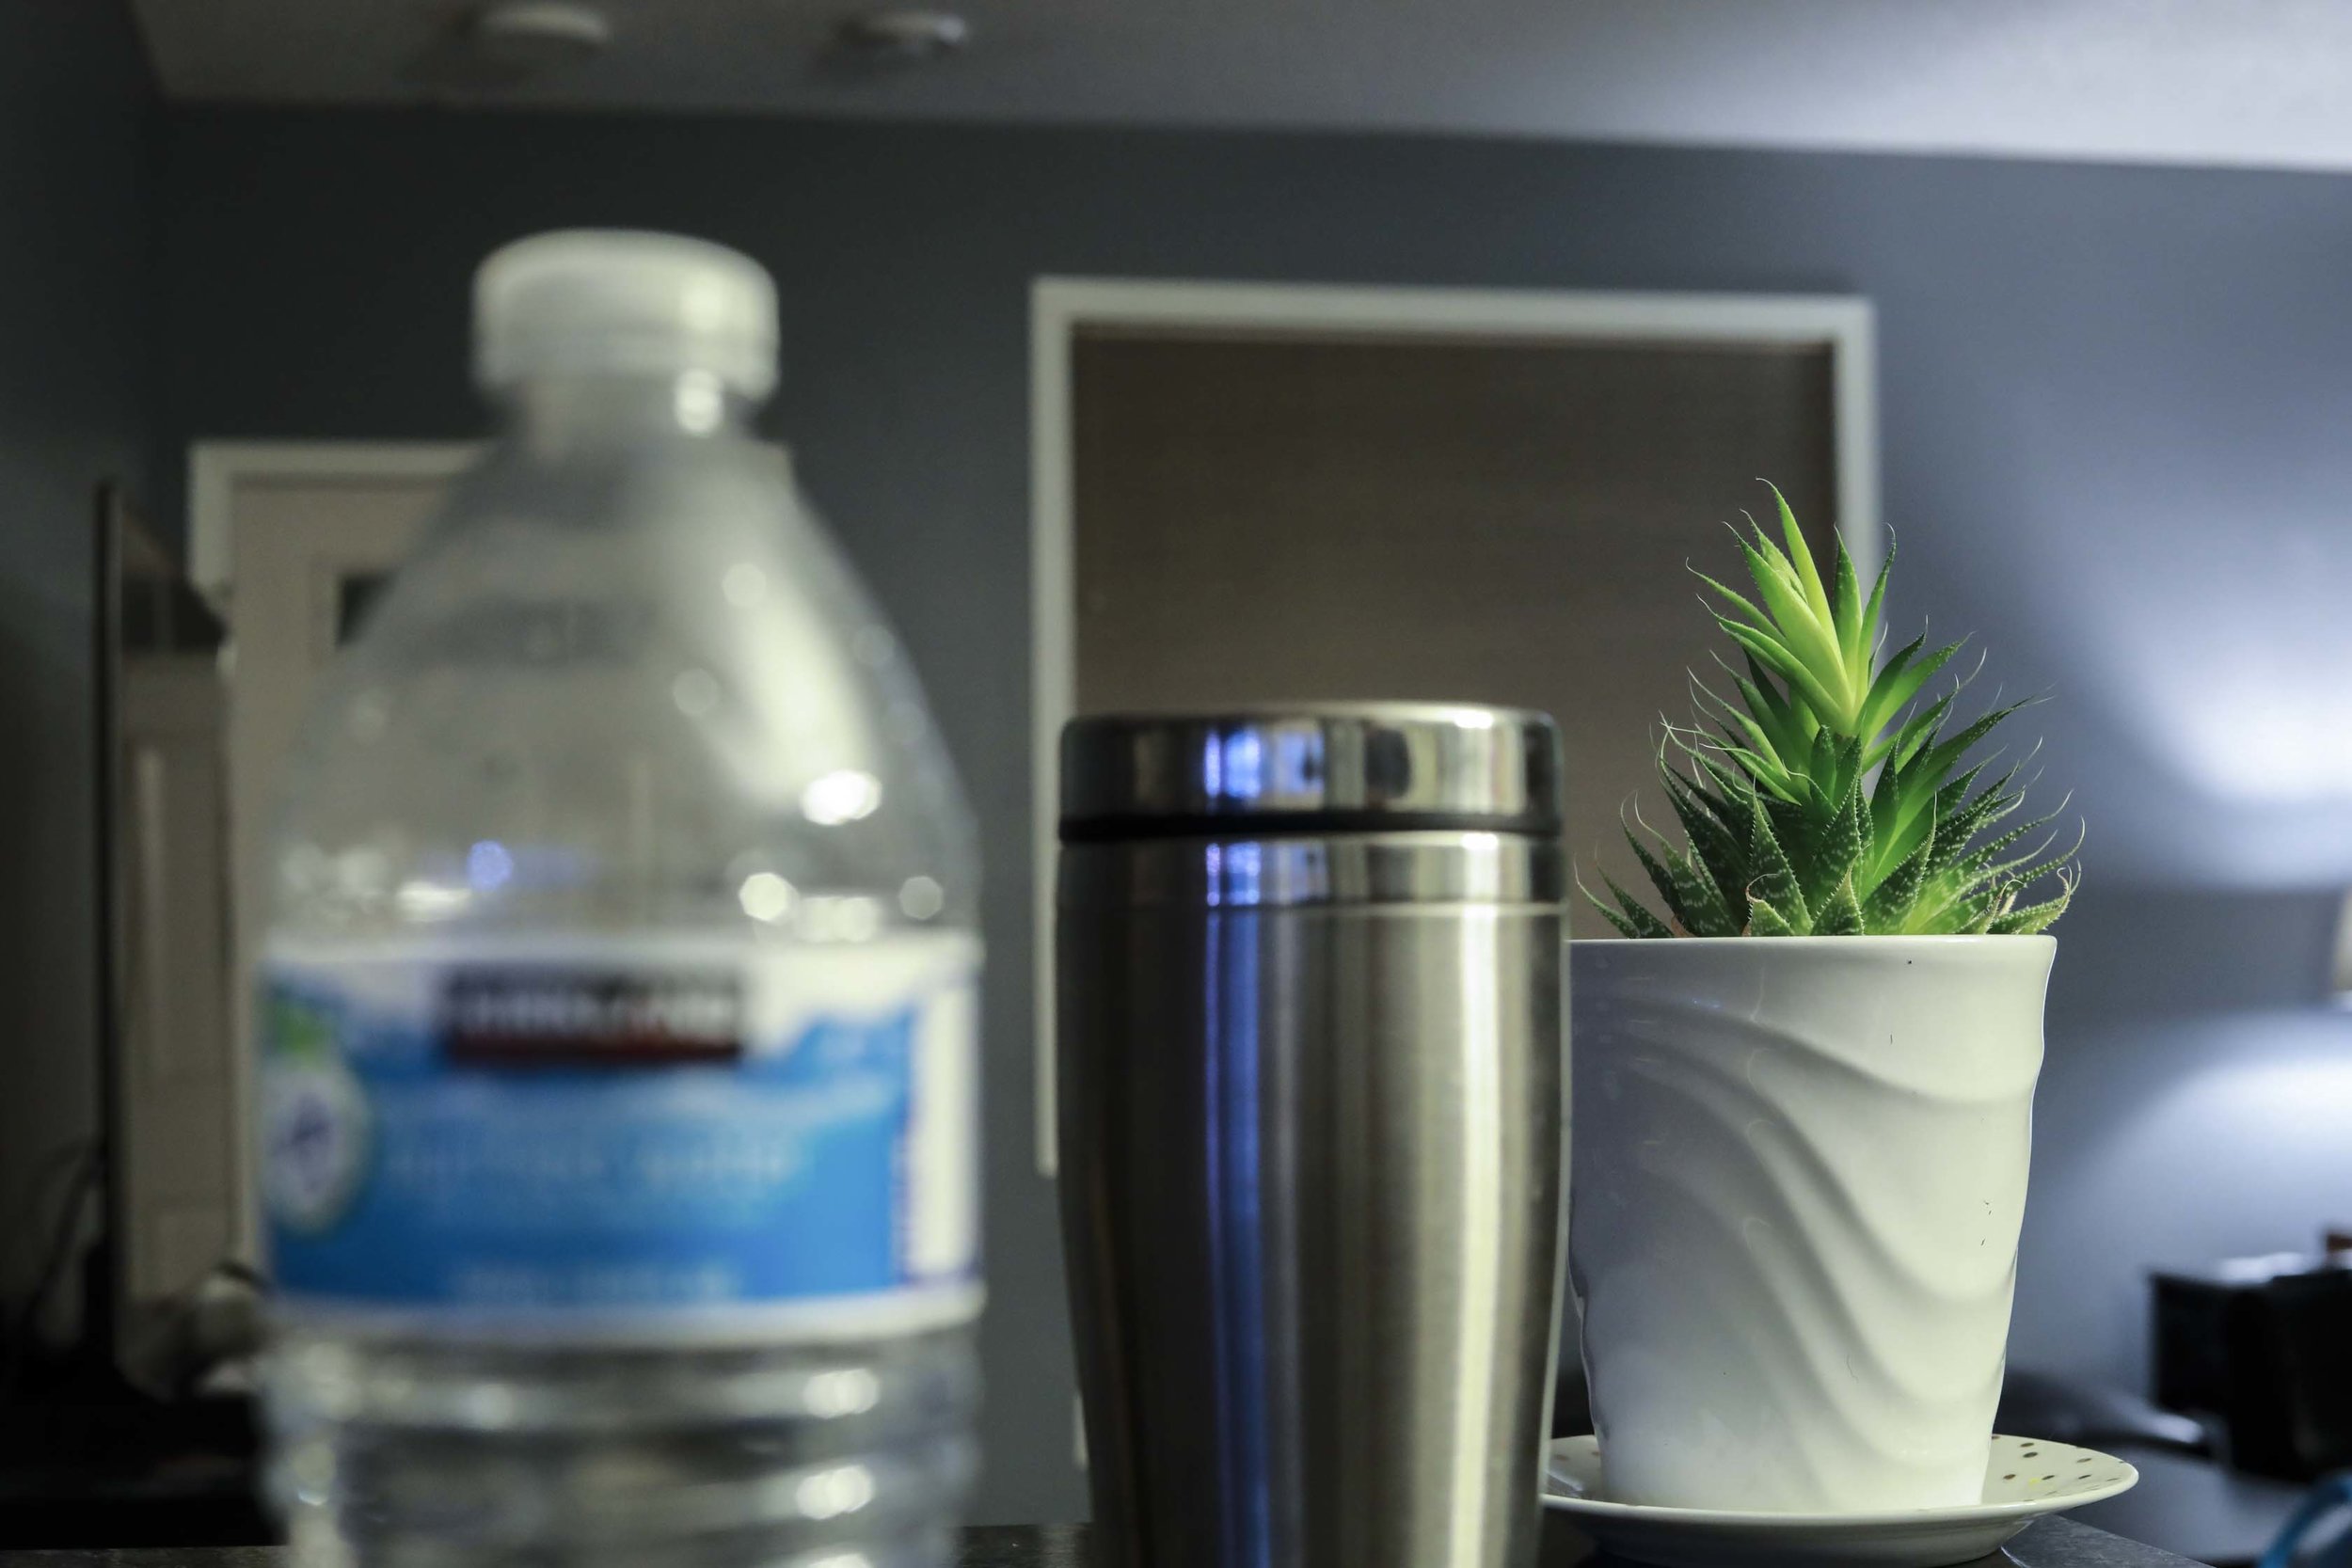
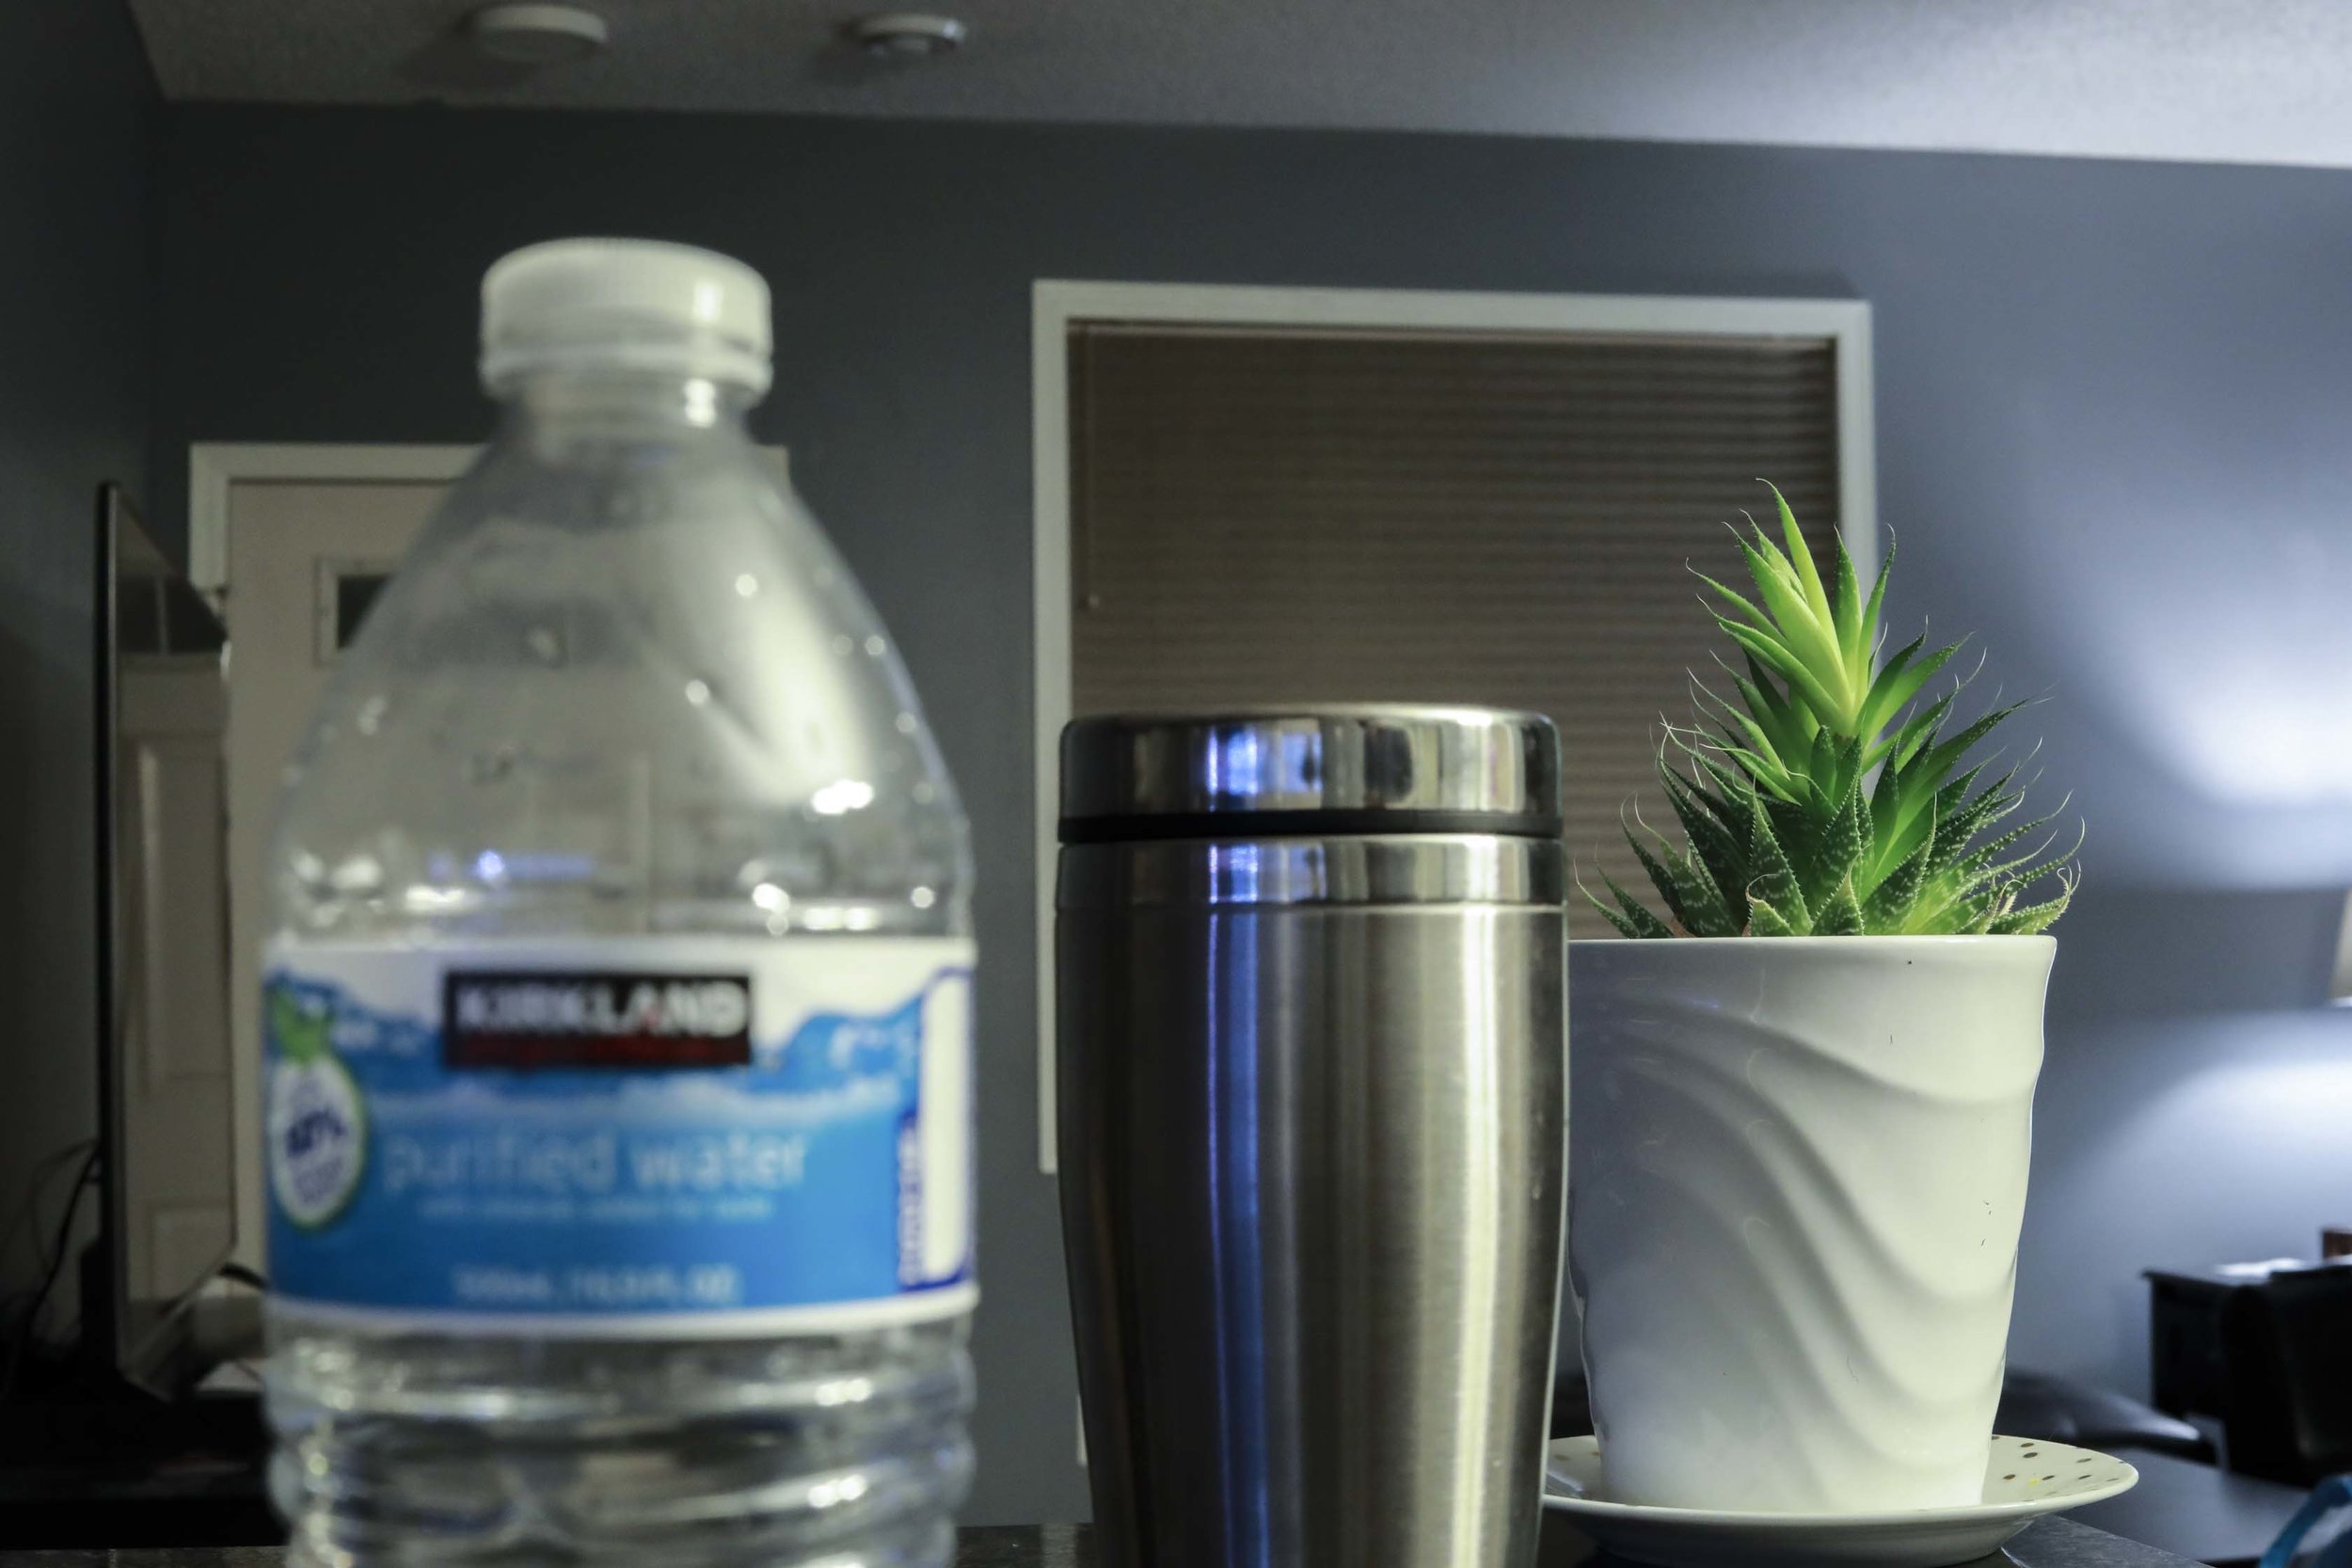
Scene 1 - From left to right (all photos) - f4 (1/20s ISO 4000) , f8 (1/5s ISO 4000), f16 (.8s ISO 4000)


Reflection
The shot that best demonstrates Selective Focus is the shallowest (f4) shot of the thermos. I believe it best demonstrates the effectiveness of isolating a subject even among other neighboring objects in a scene. This makes for a very powerful method when trying to bring attention solely to your subject.
The shot that best demonstrates Maximum Depth of View is the last (f16) shot of the plant. Not only can you almost read what’s on the bottle in front of the lens, but you can see the TV, door, and fixtures on the ceiling (which you couldn’t see in most other shots). Maximum depth of view shots are very useful for showing the viewer most everything in frame - landscape shots might be particularly useful in maximum depth of view.
Scene 2
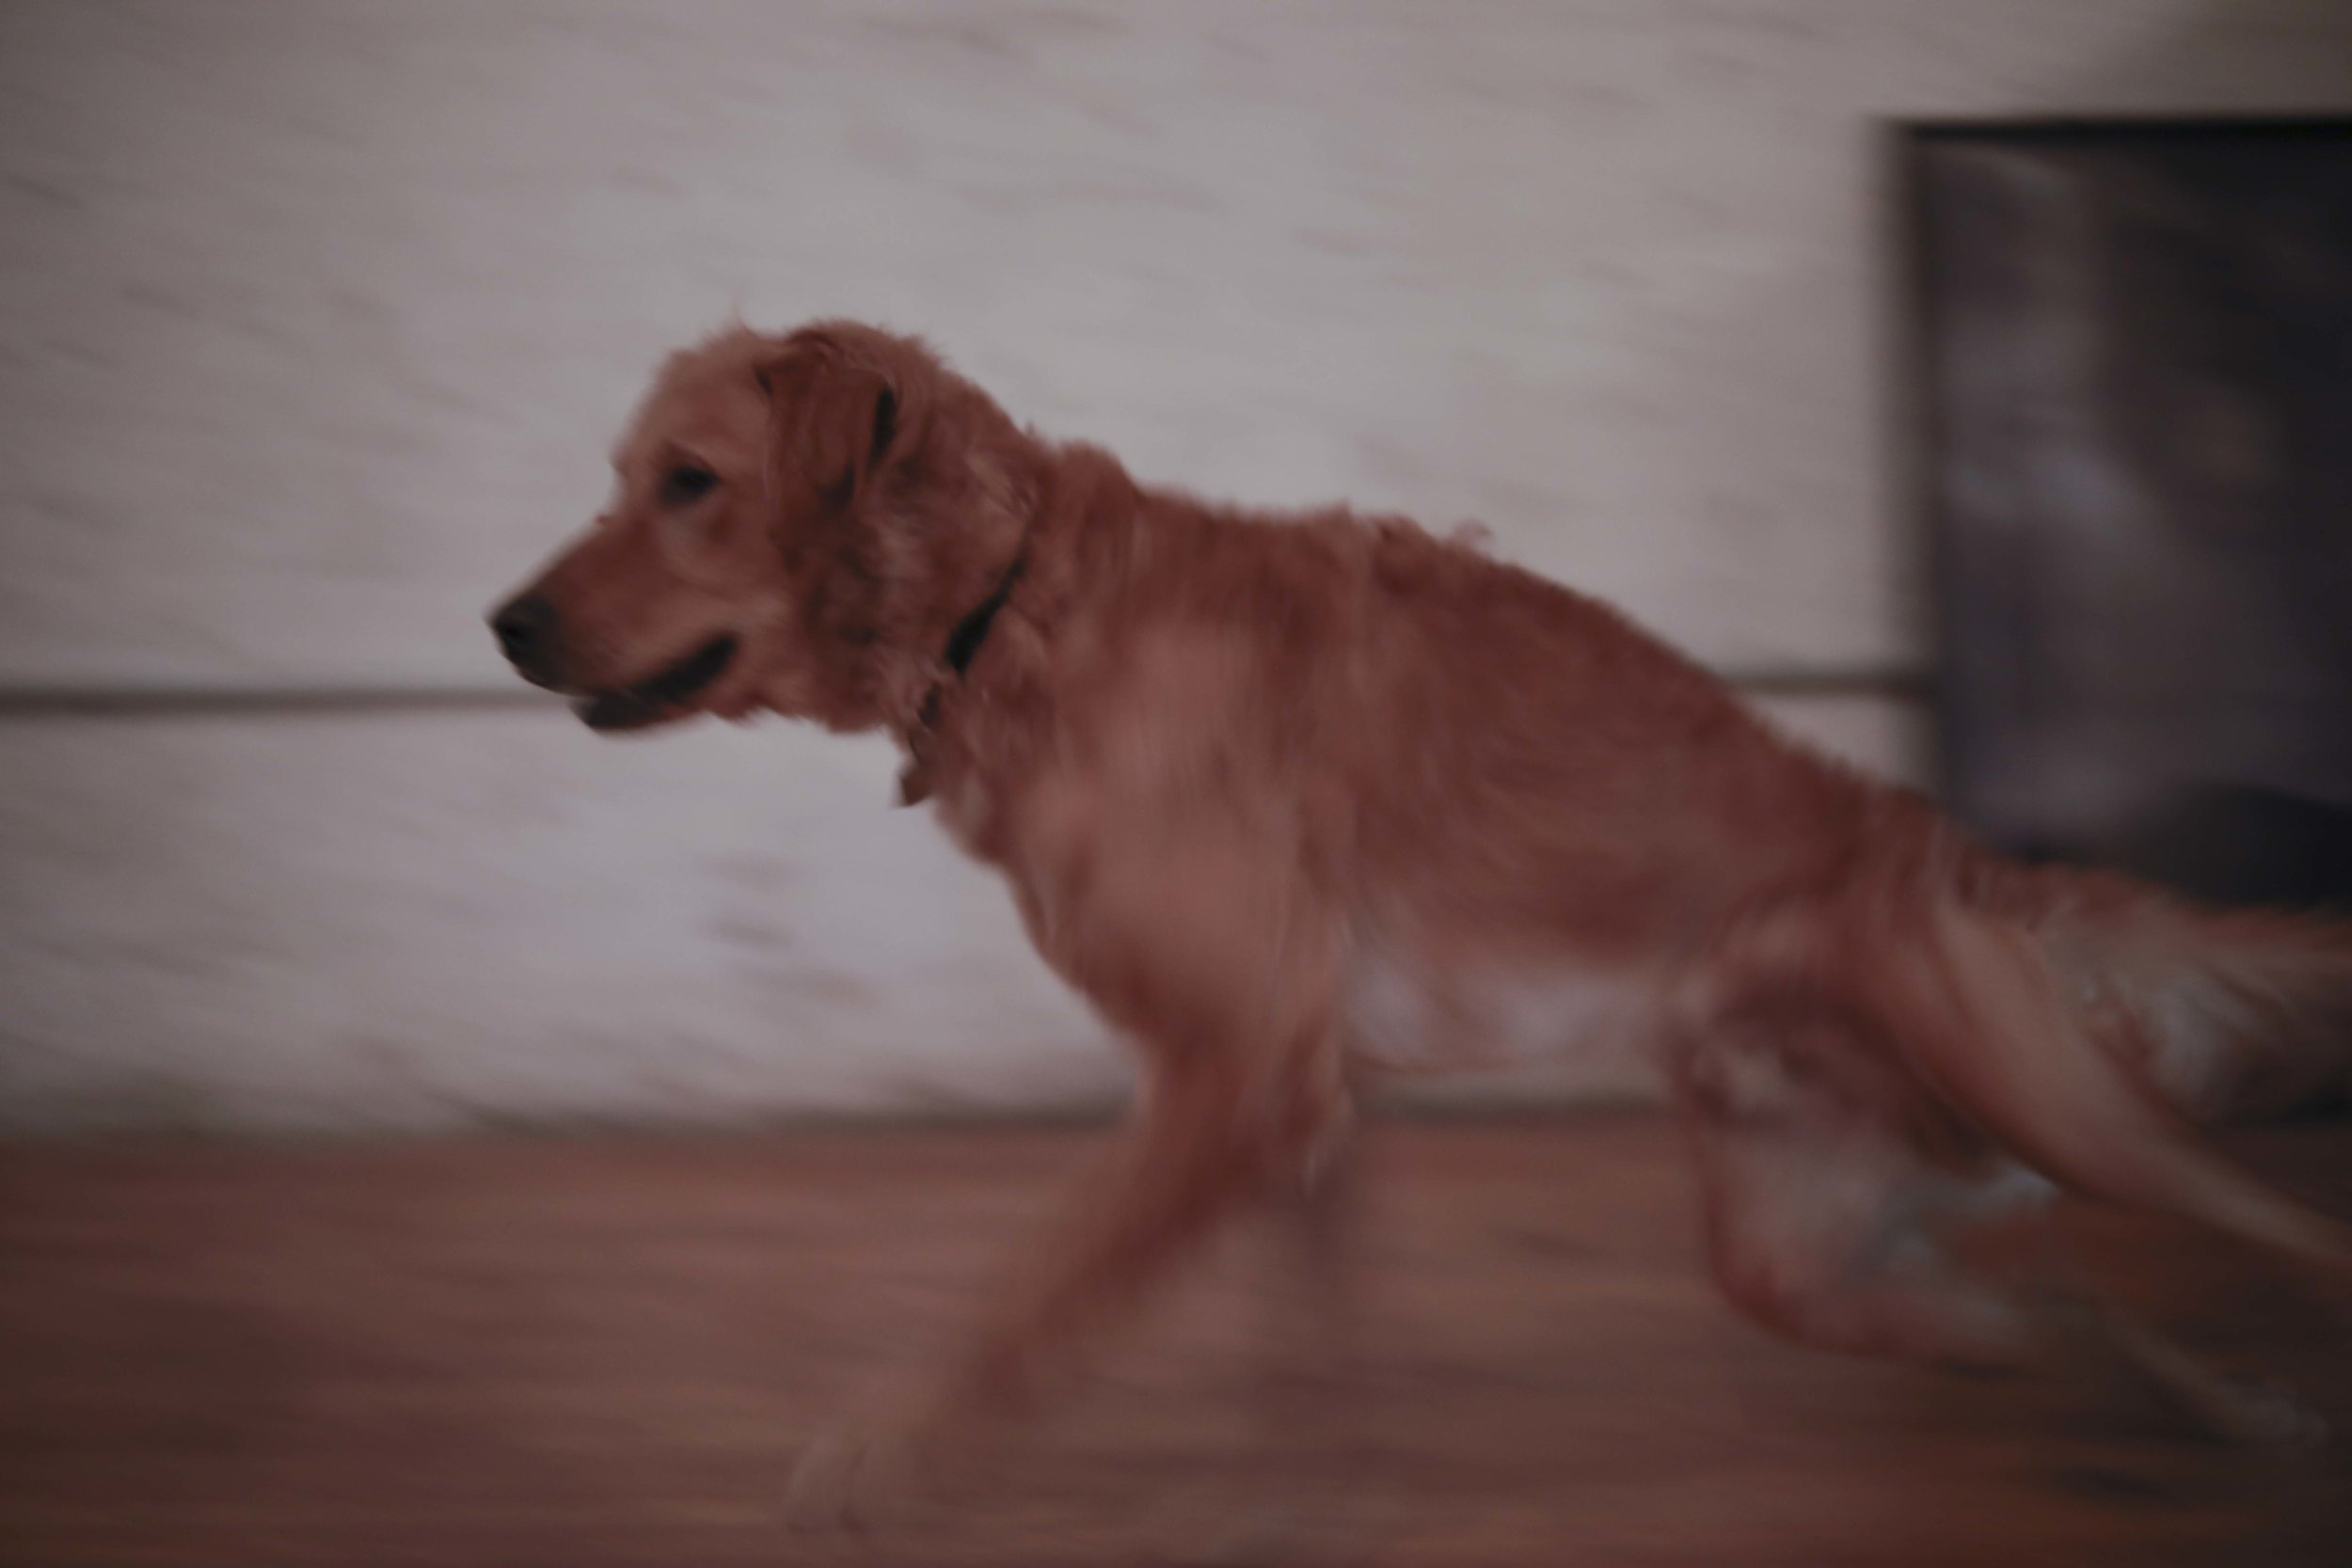
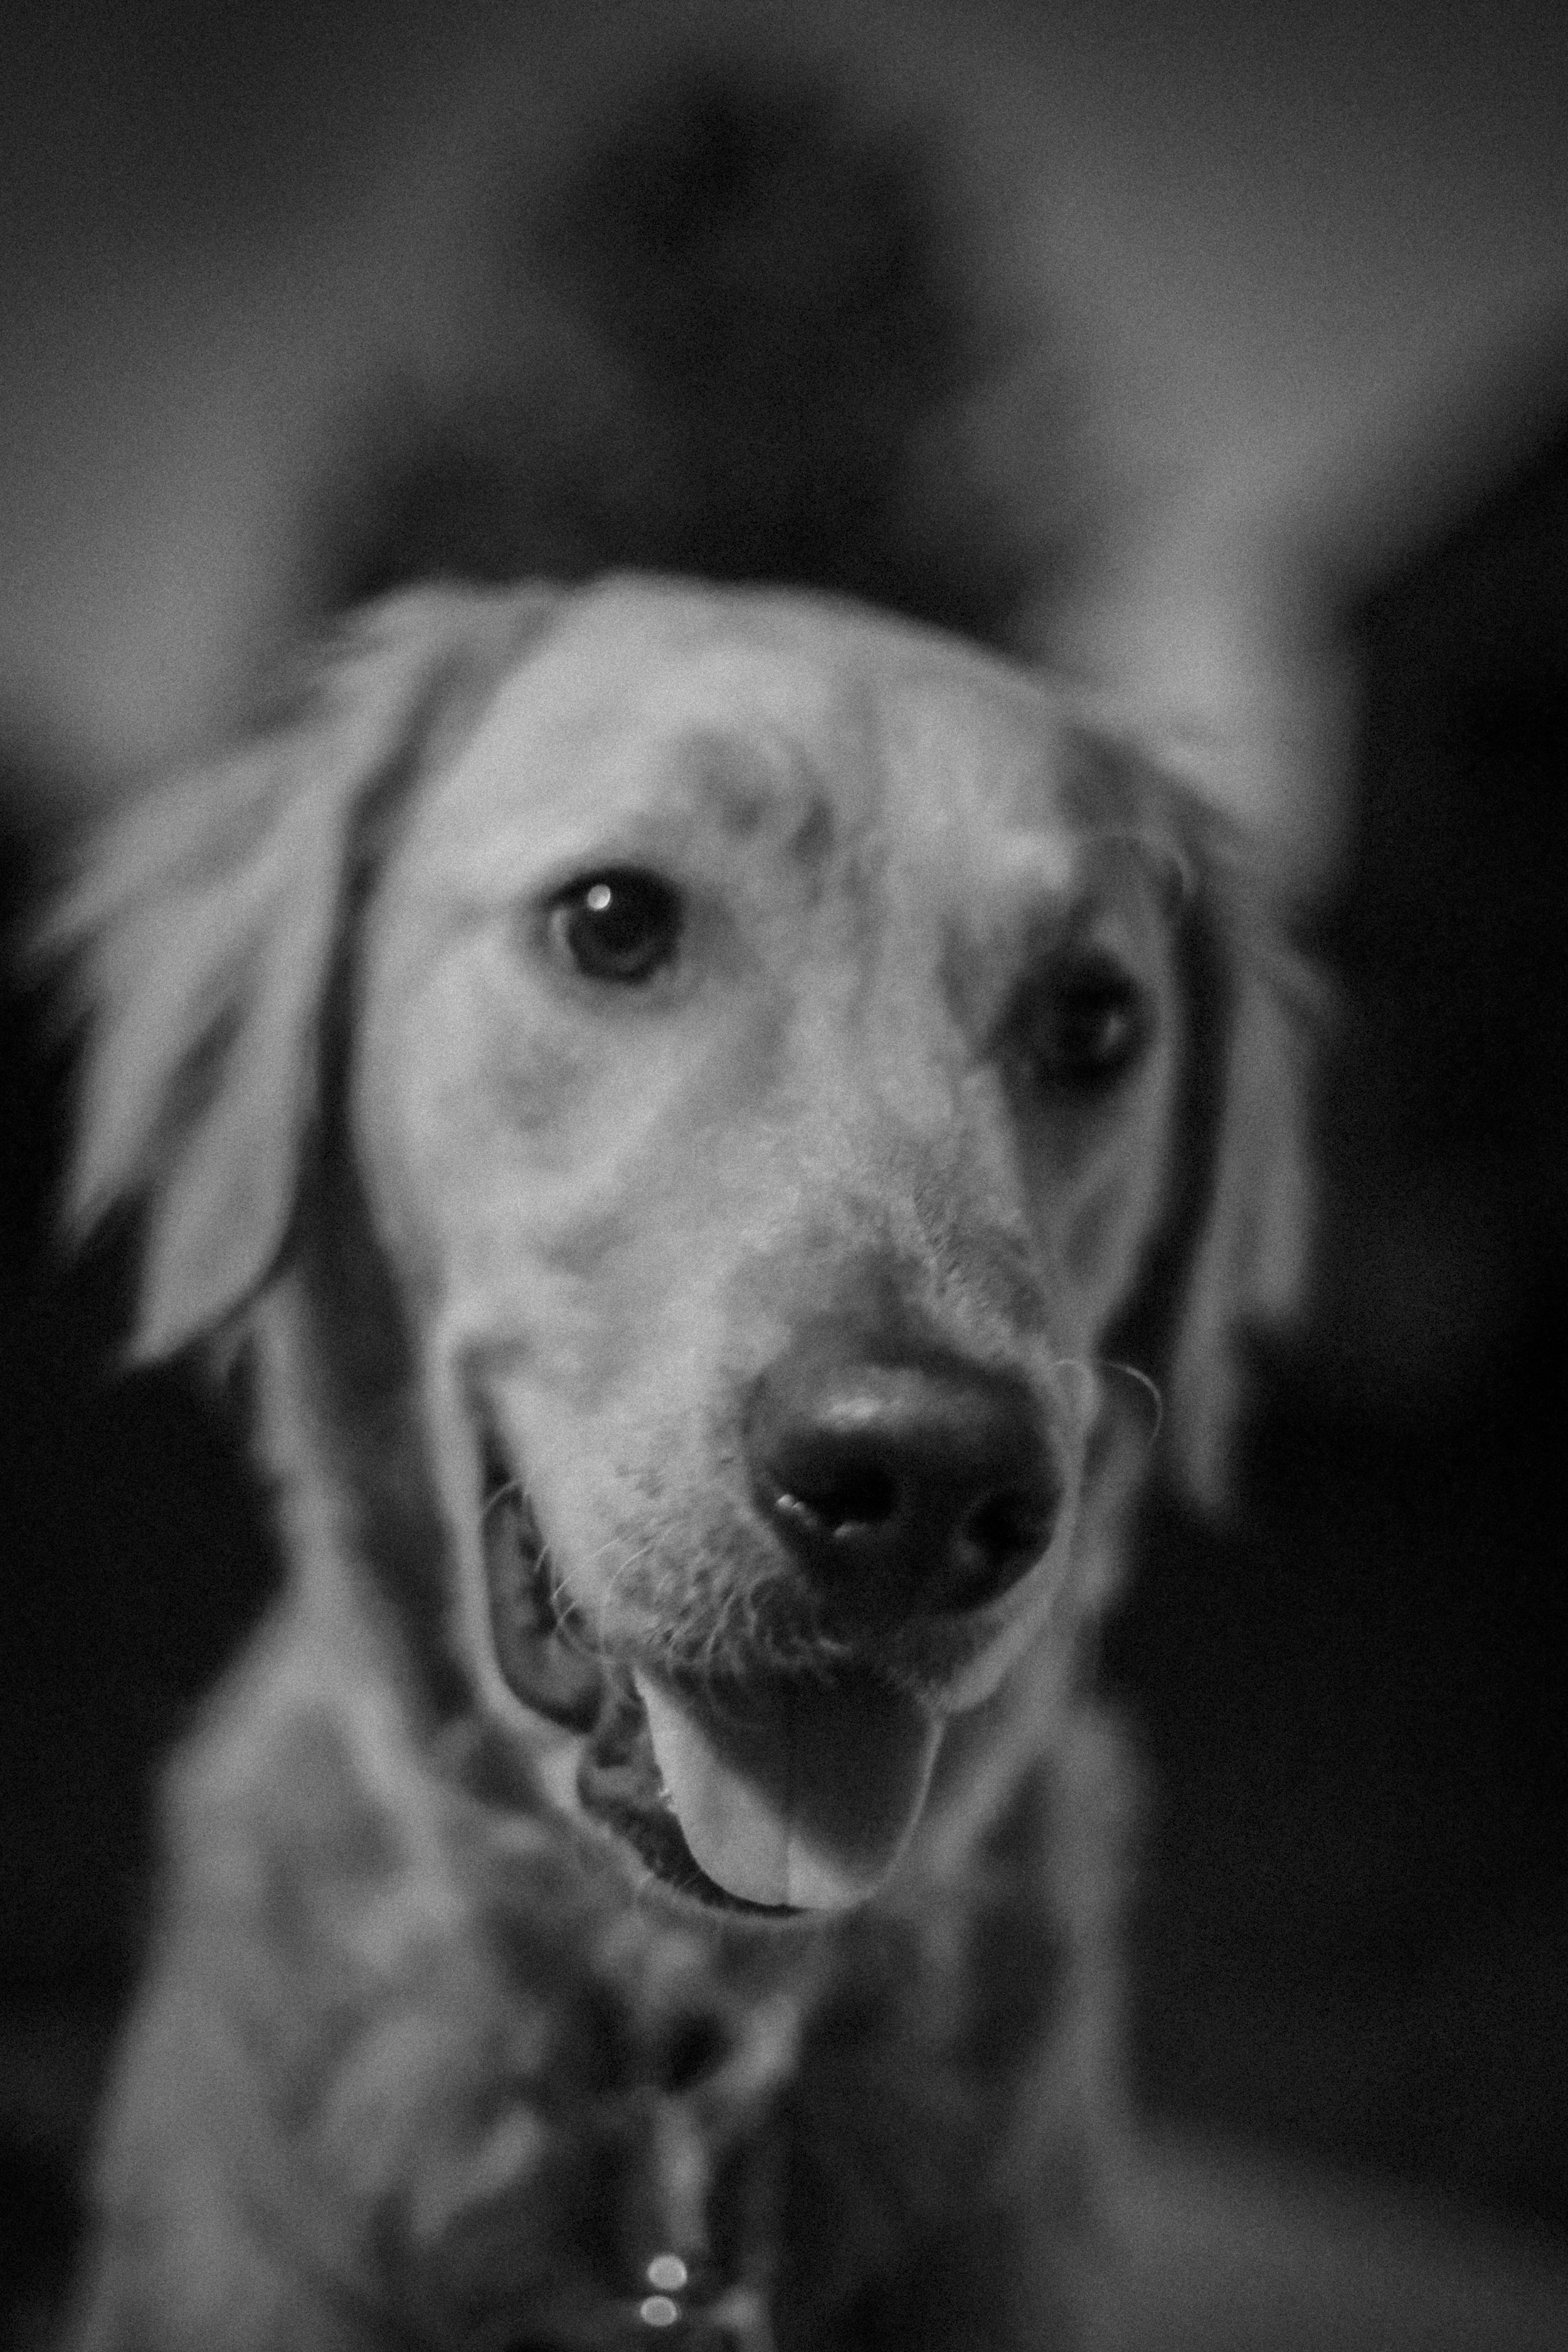
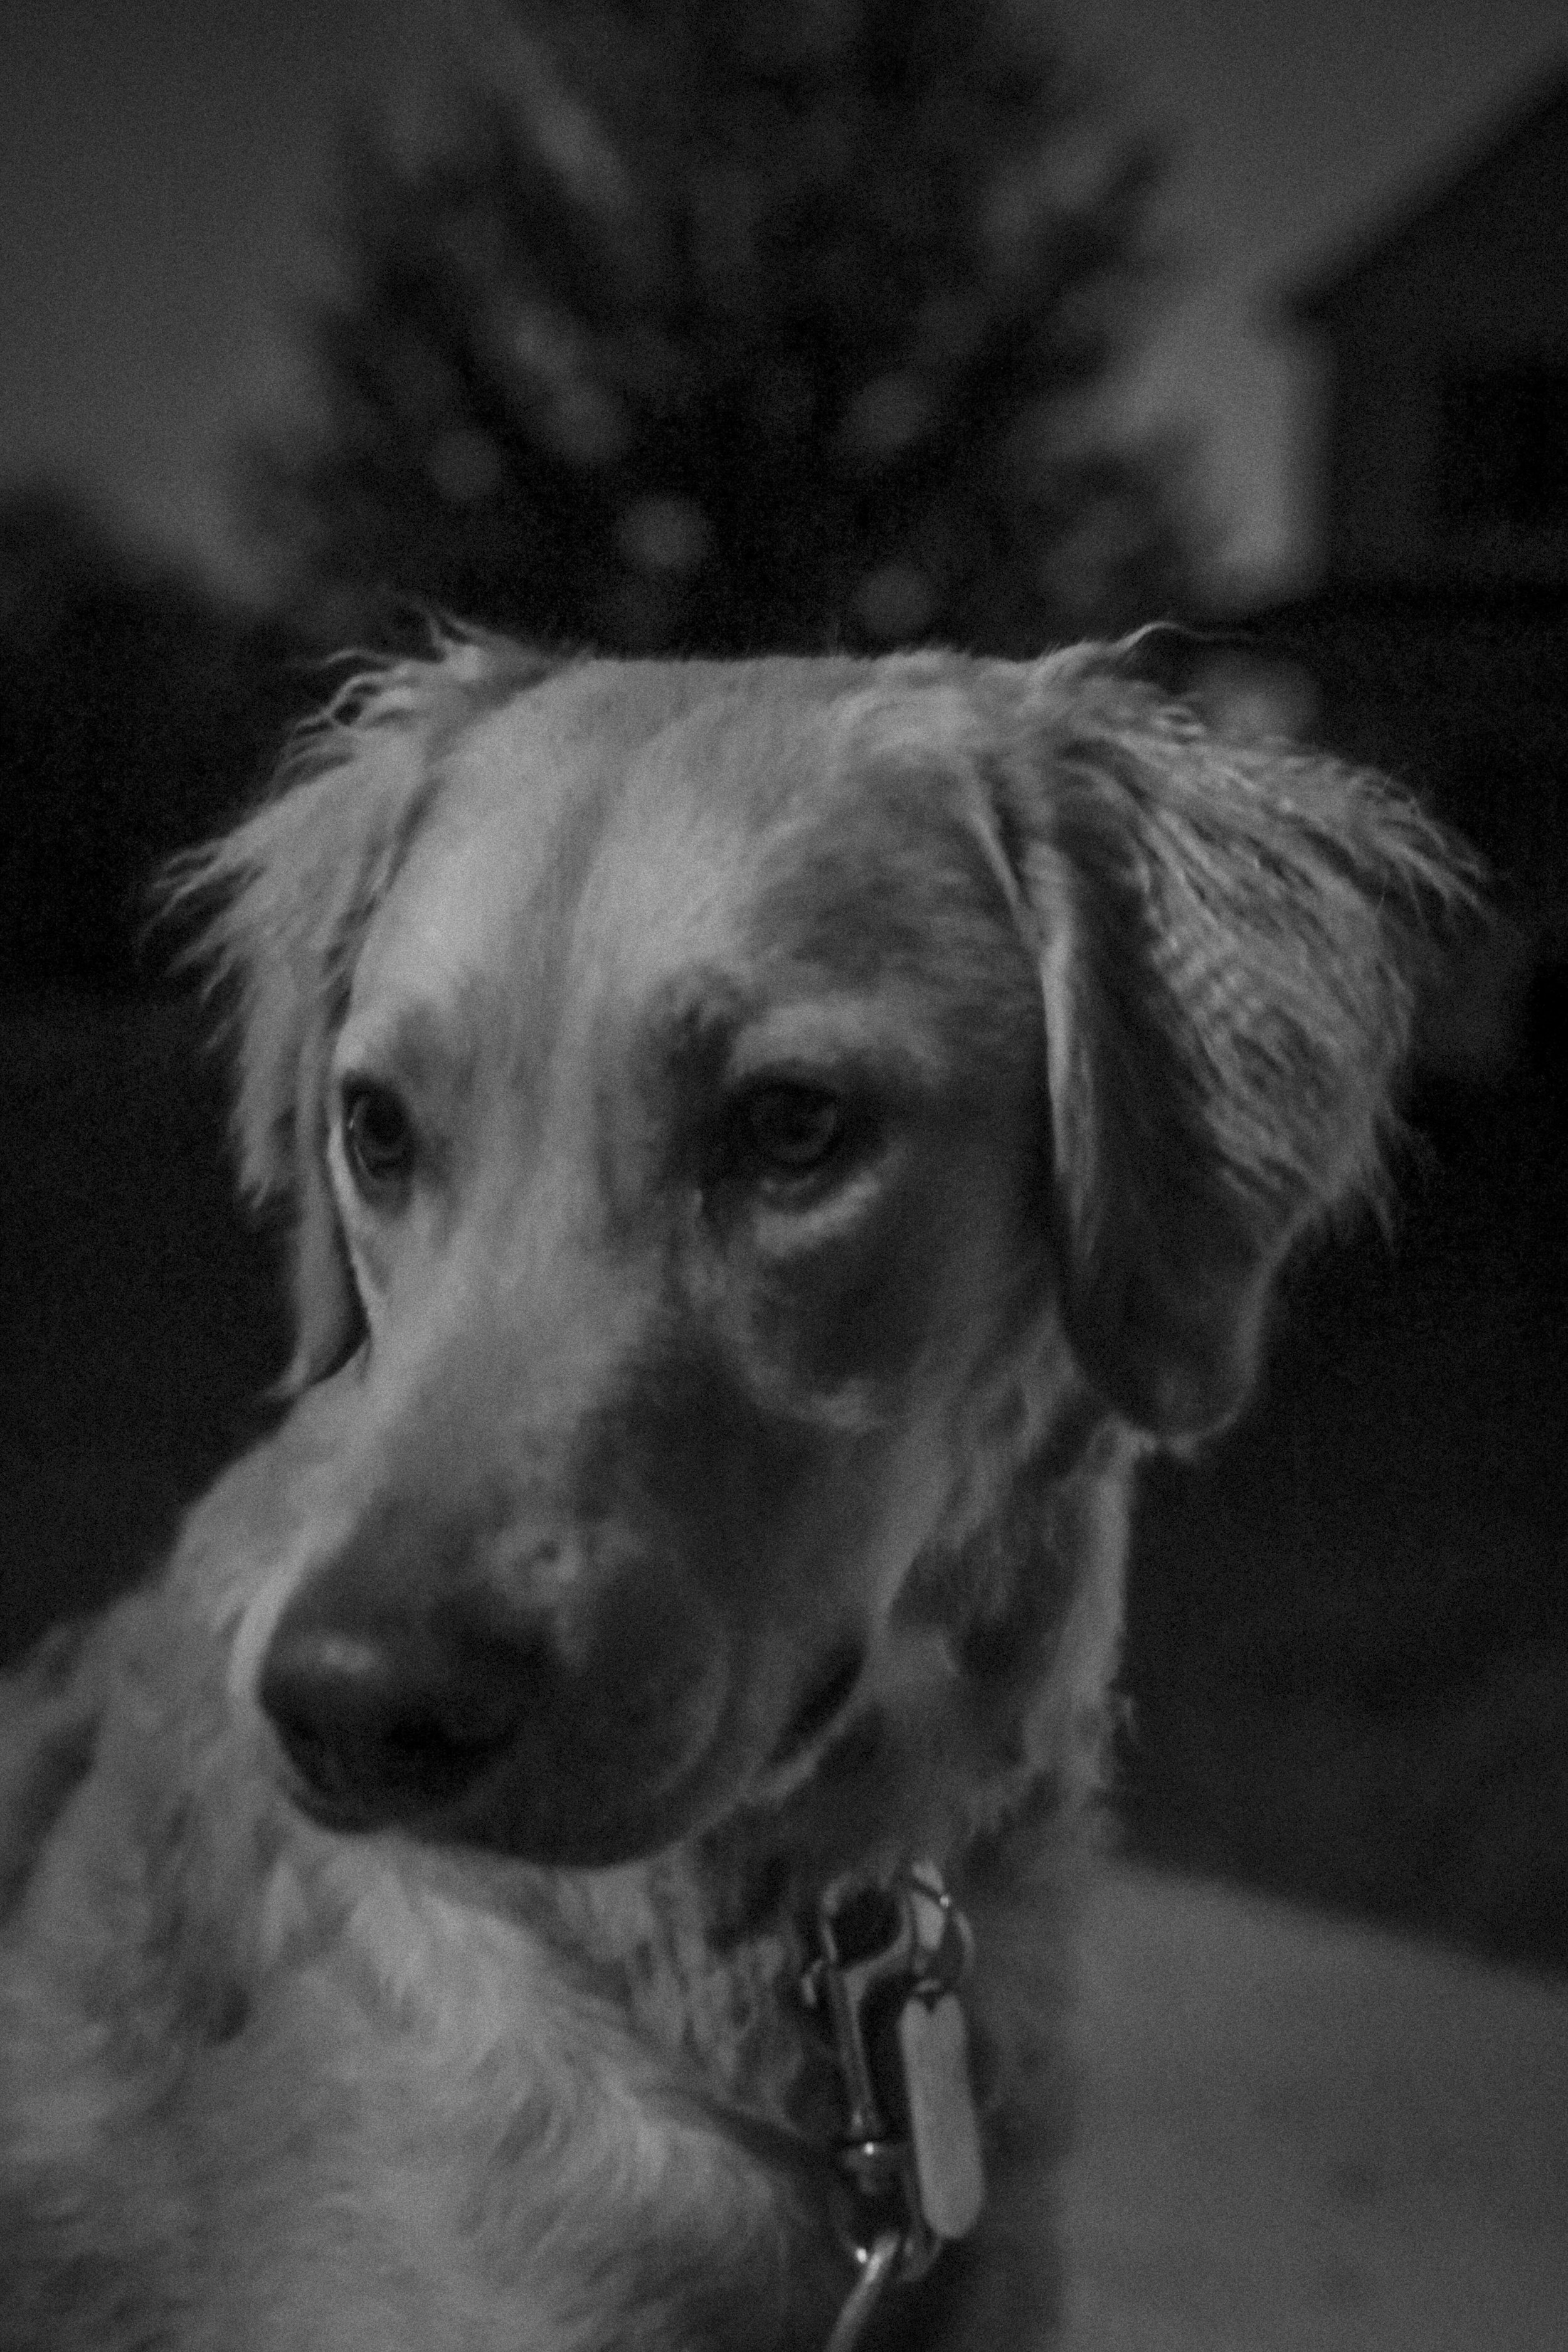
In this scene I took a picture of Cooper at - f2 (1/60s ISO 800) , f4 (1/60s ISO 3200), f8 (1/30s ISO 6400)
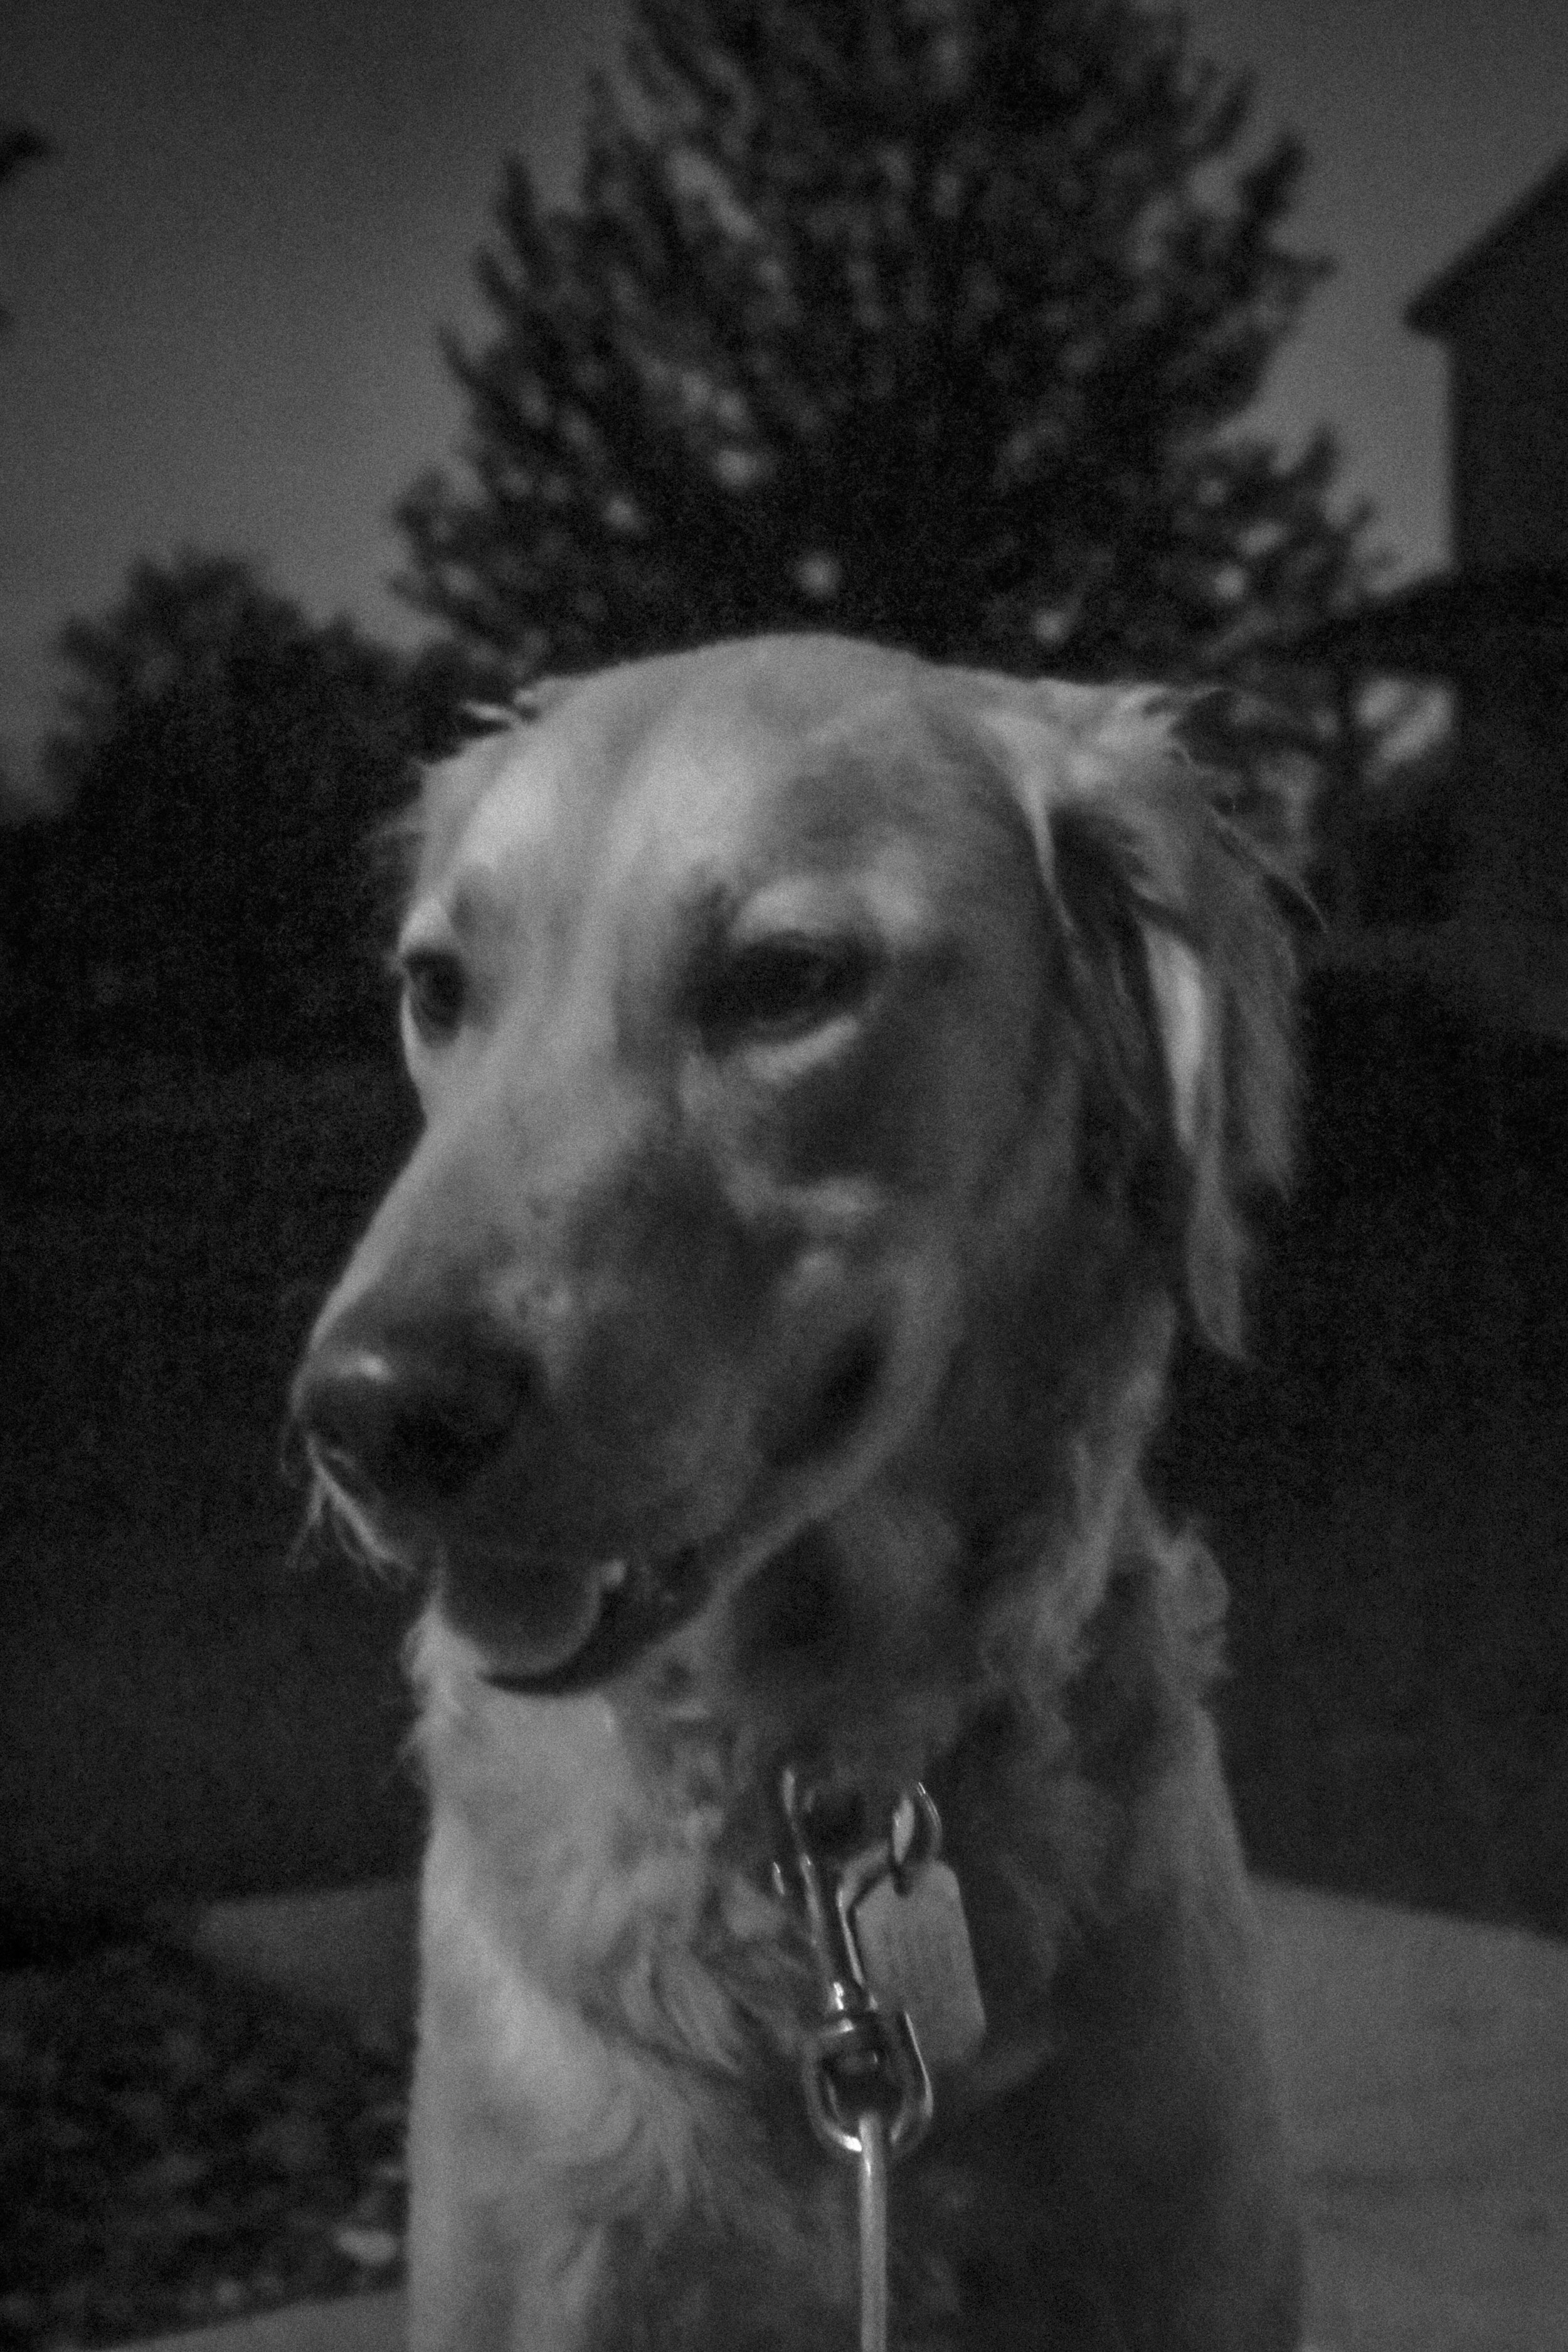
Reflection
I like the first photo (f2) the most because it brings all the attention to Cooper and away from the trees in the background. The photo is so shallow his ears are slightly out of focus which I think looks great.
DGMD E-9: Fundamentals of Digital Photography